Rootin’-est Tootin’-est Cowboy in the Wild, Wild Cantina!

It’s no secret that Halloween is my favorite holiday. The candy, the decorations, the crisp fall weather… but mostly, the crafty possibility. I try to go all out on a costume every year, and 2015 did not disappoint.

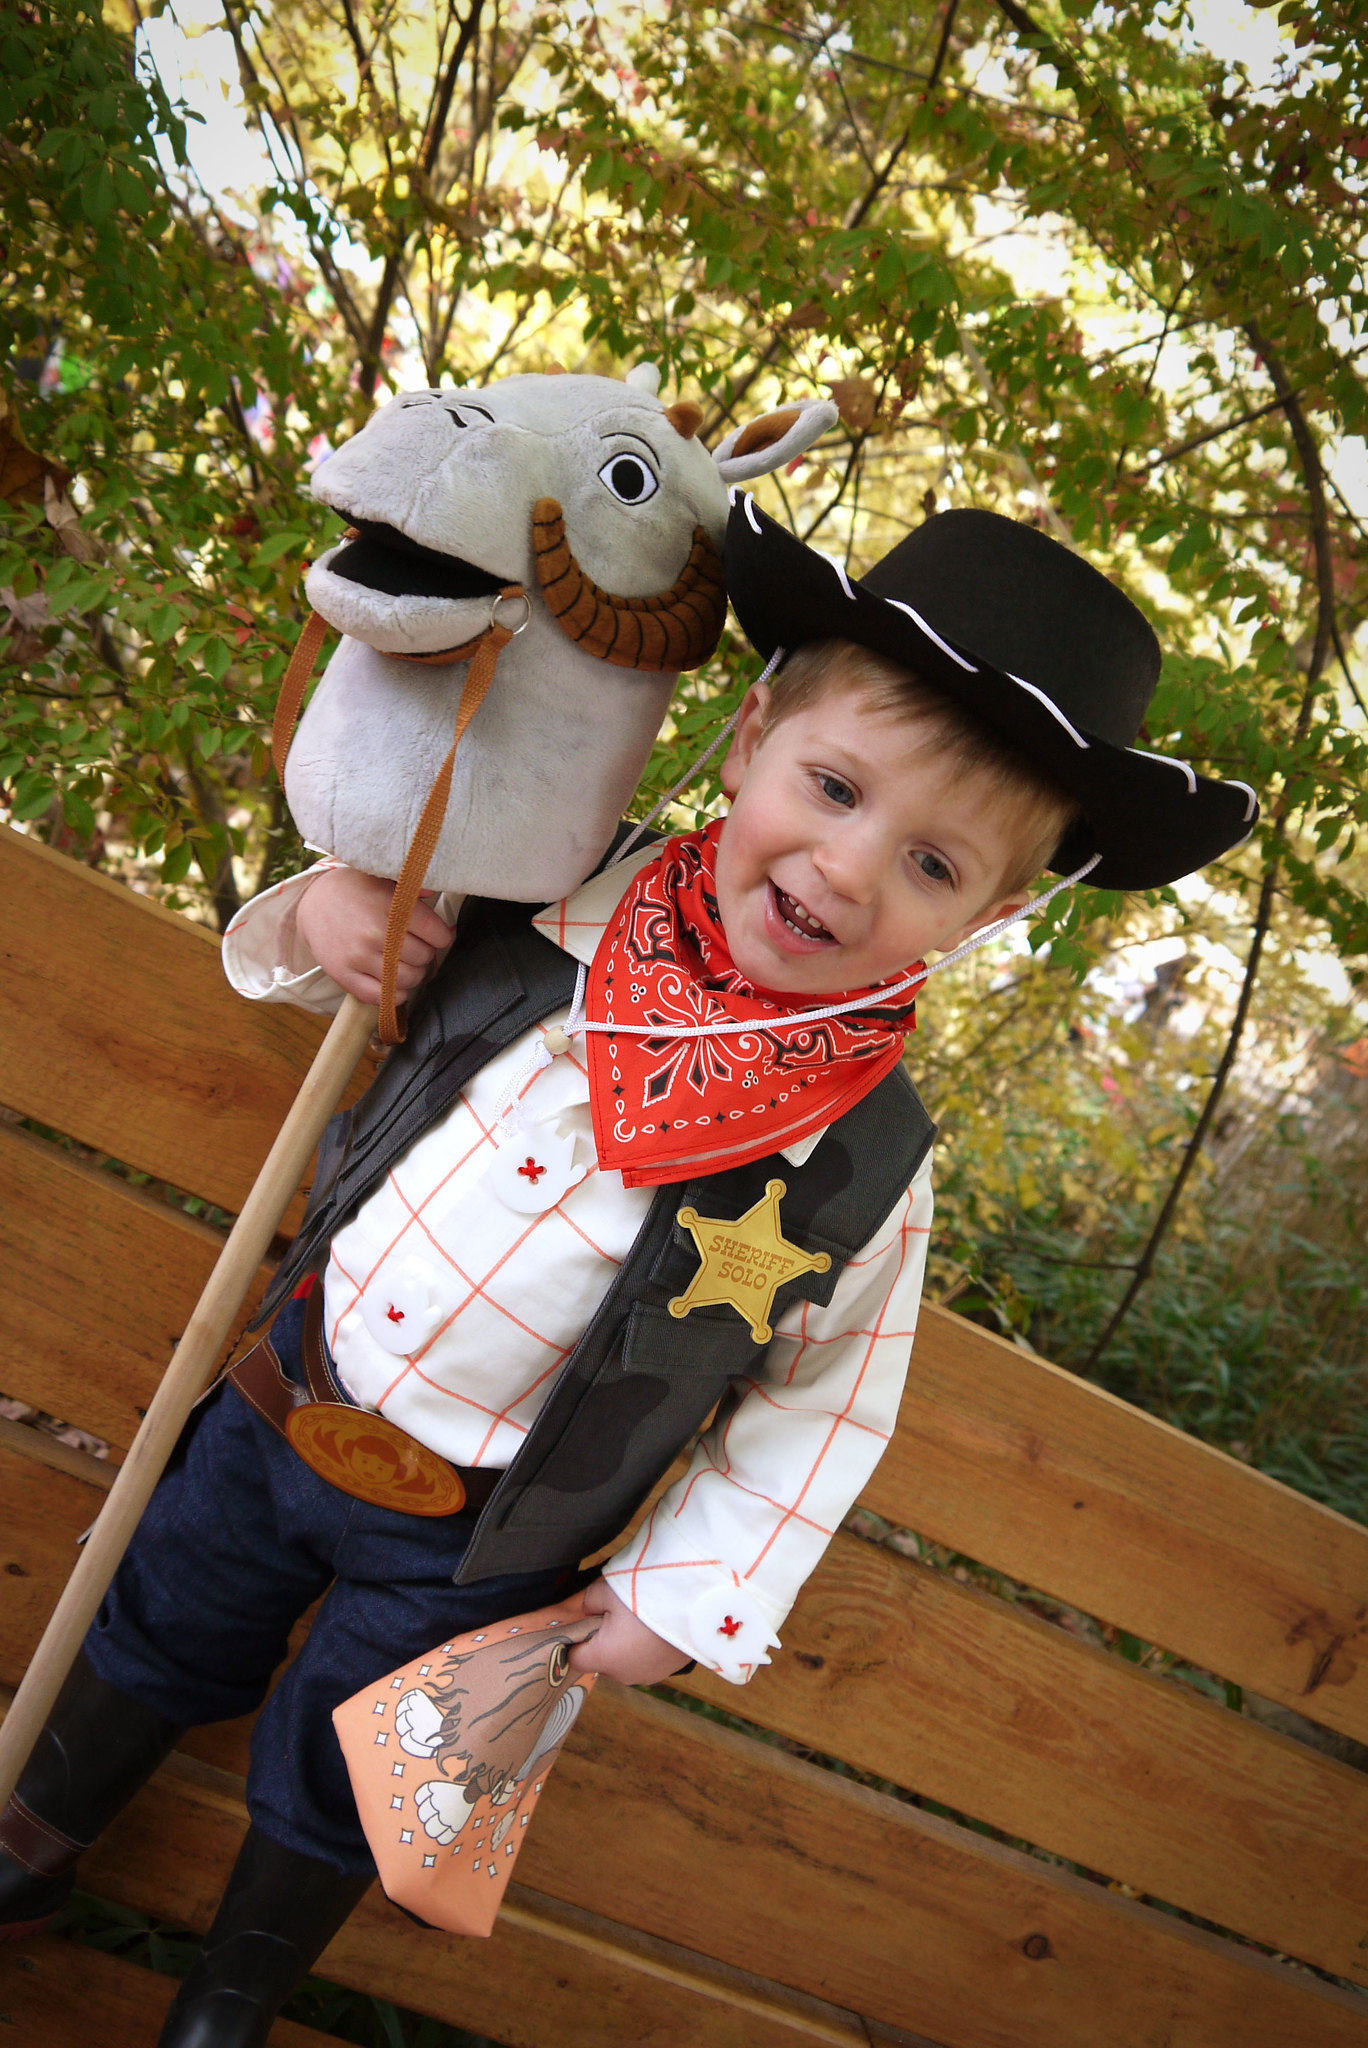
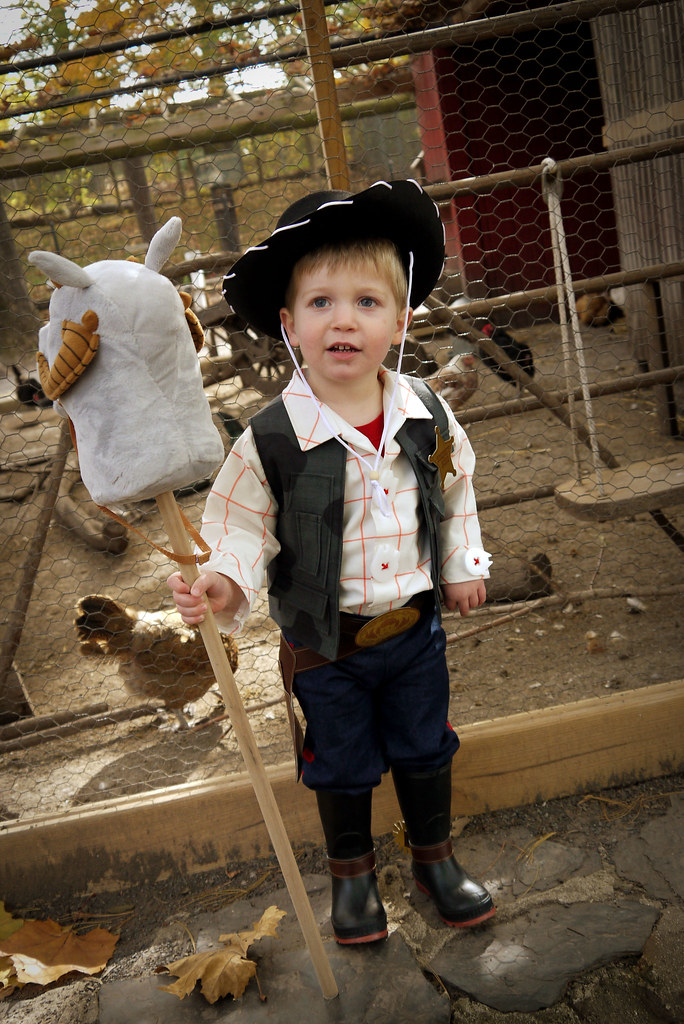
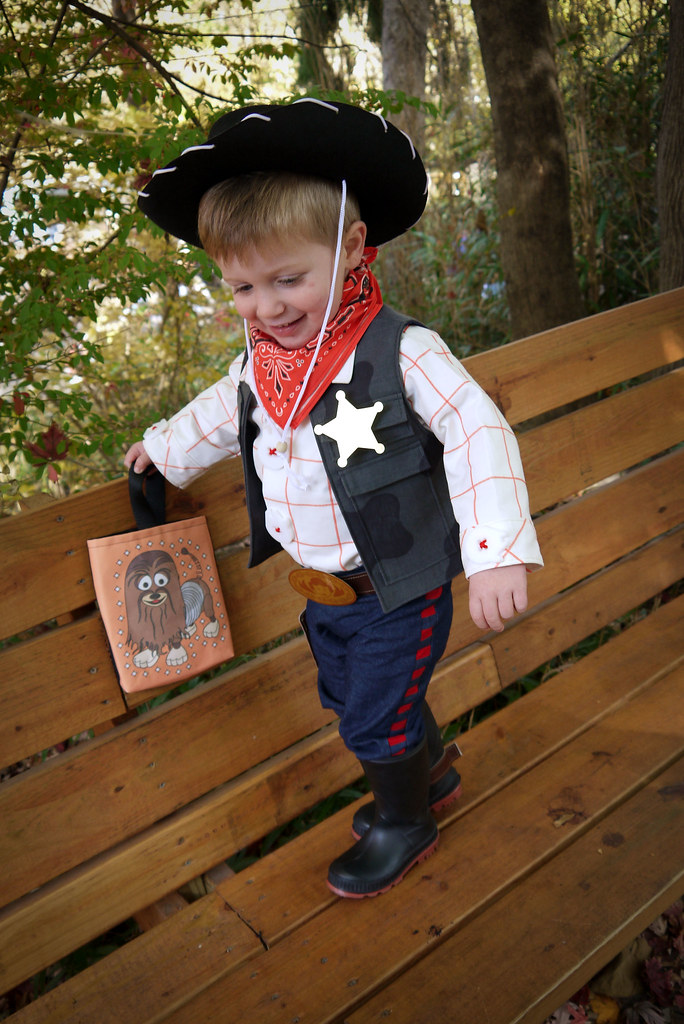
Now that my son is getting older, he was able to have input into his costume choice for the first time.  He couldn’t decide between Woody from Toy Story and Star Wars, so I tried to give him both. Introducing… Sheriff Woody Solo! I tried to blend elements from both characters together into the ultimate space cowboy.

Woody Solo Costume

Woody Solo Costume

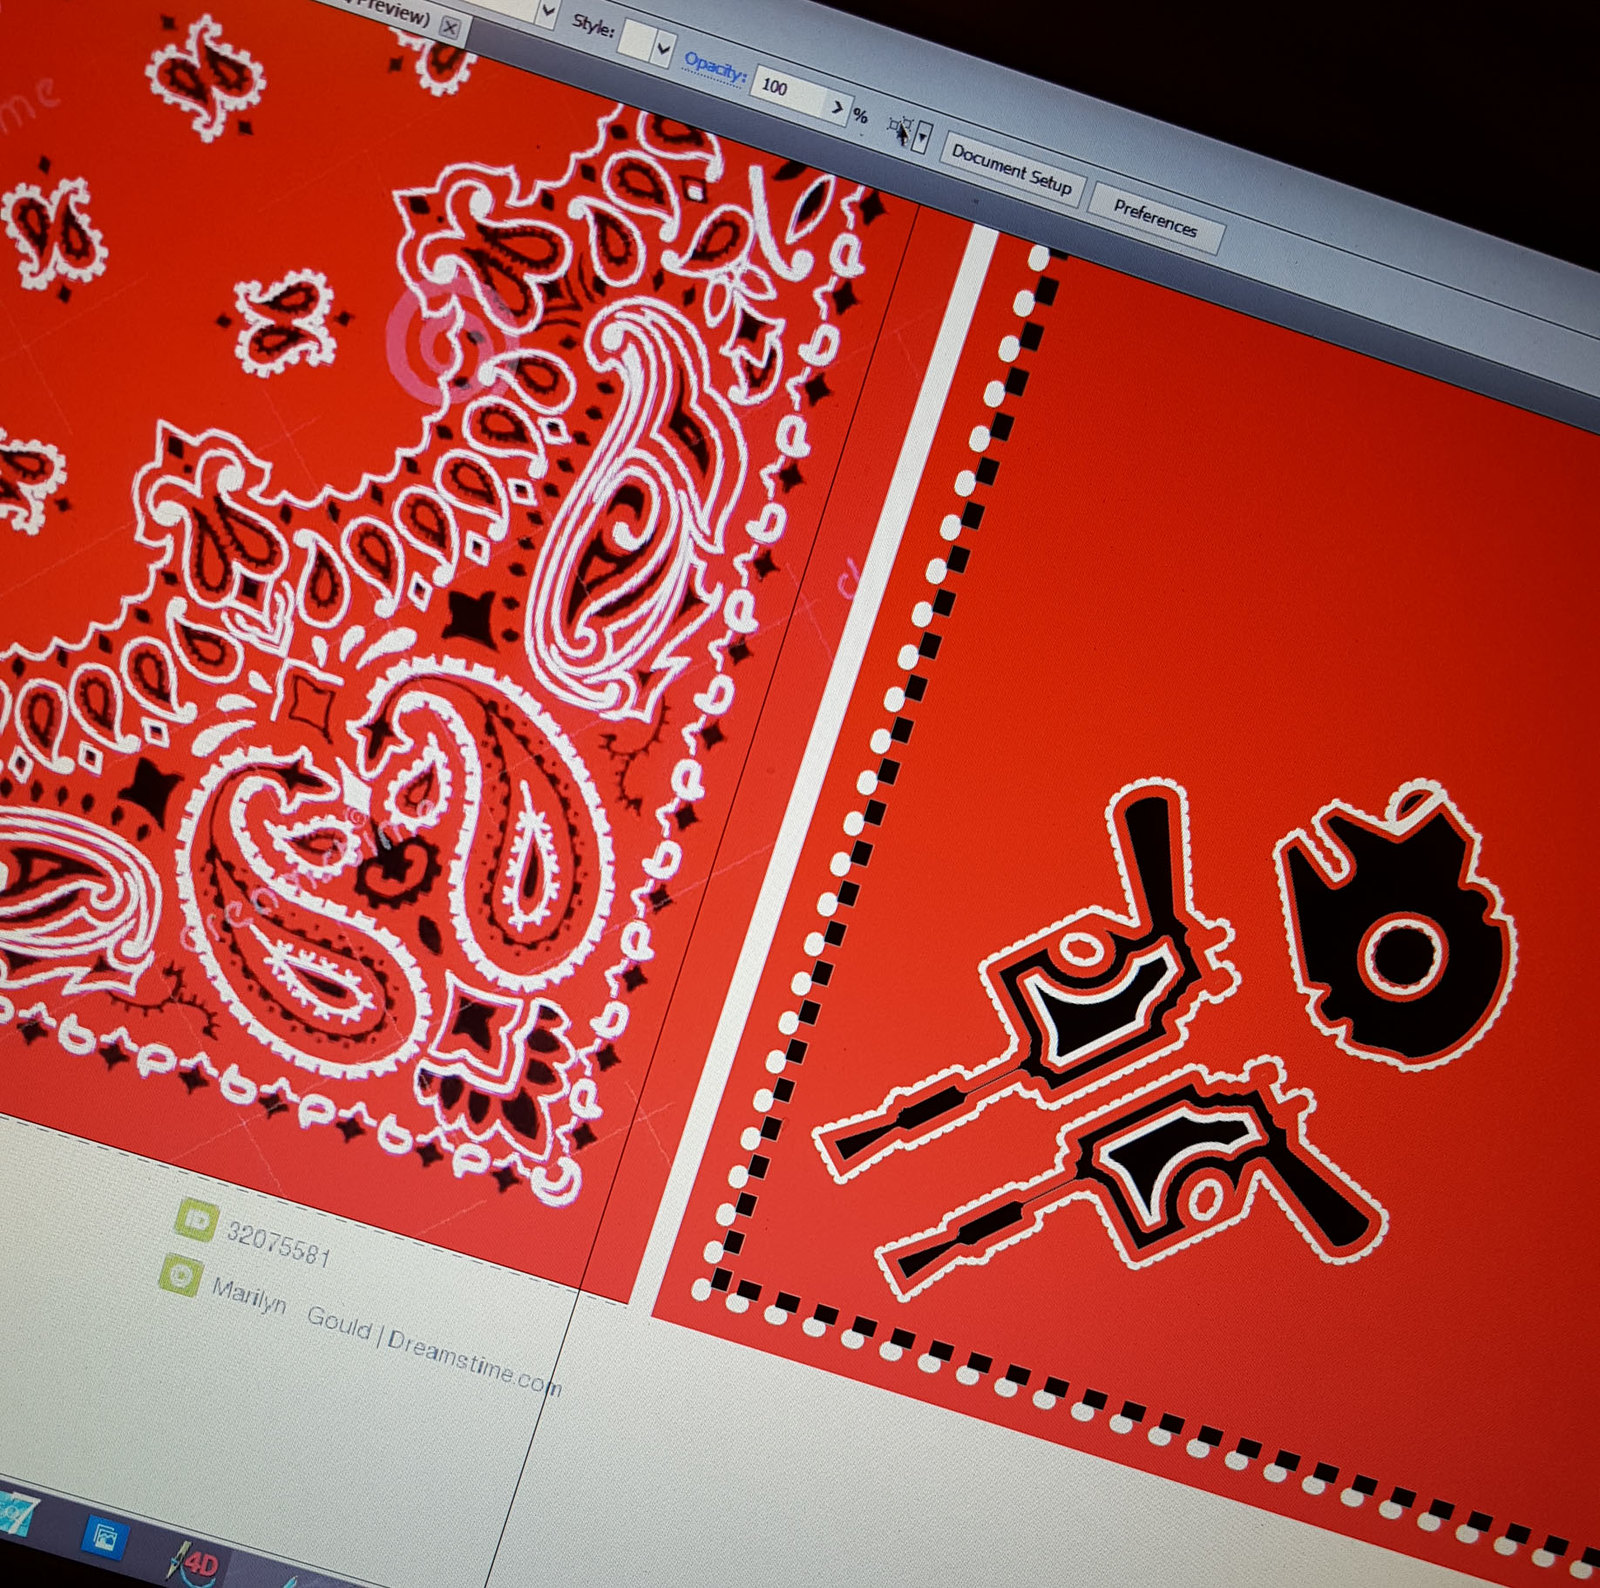
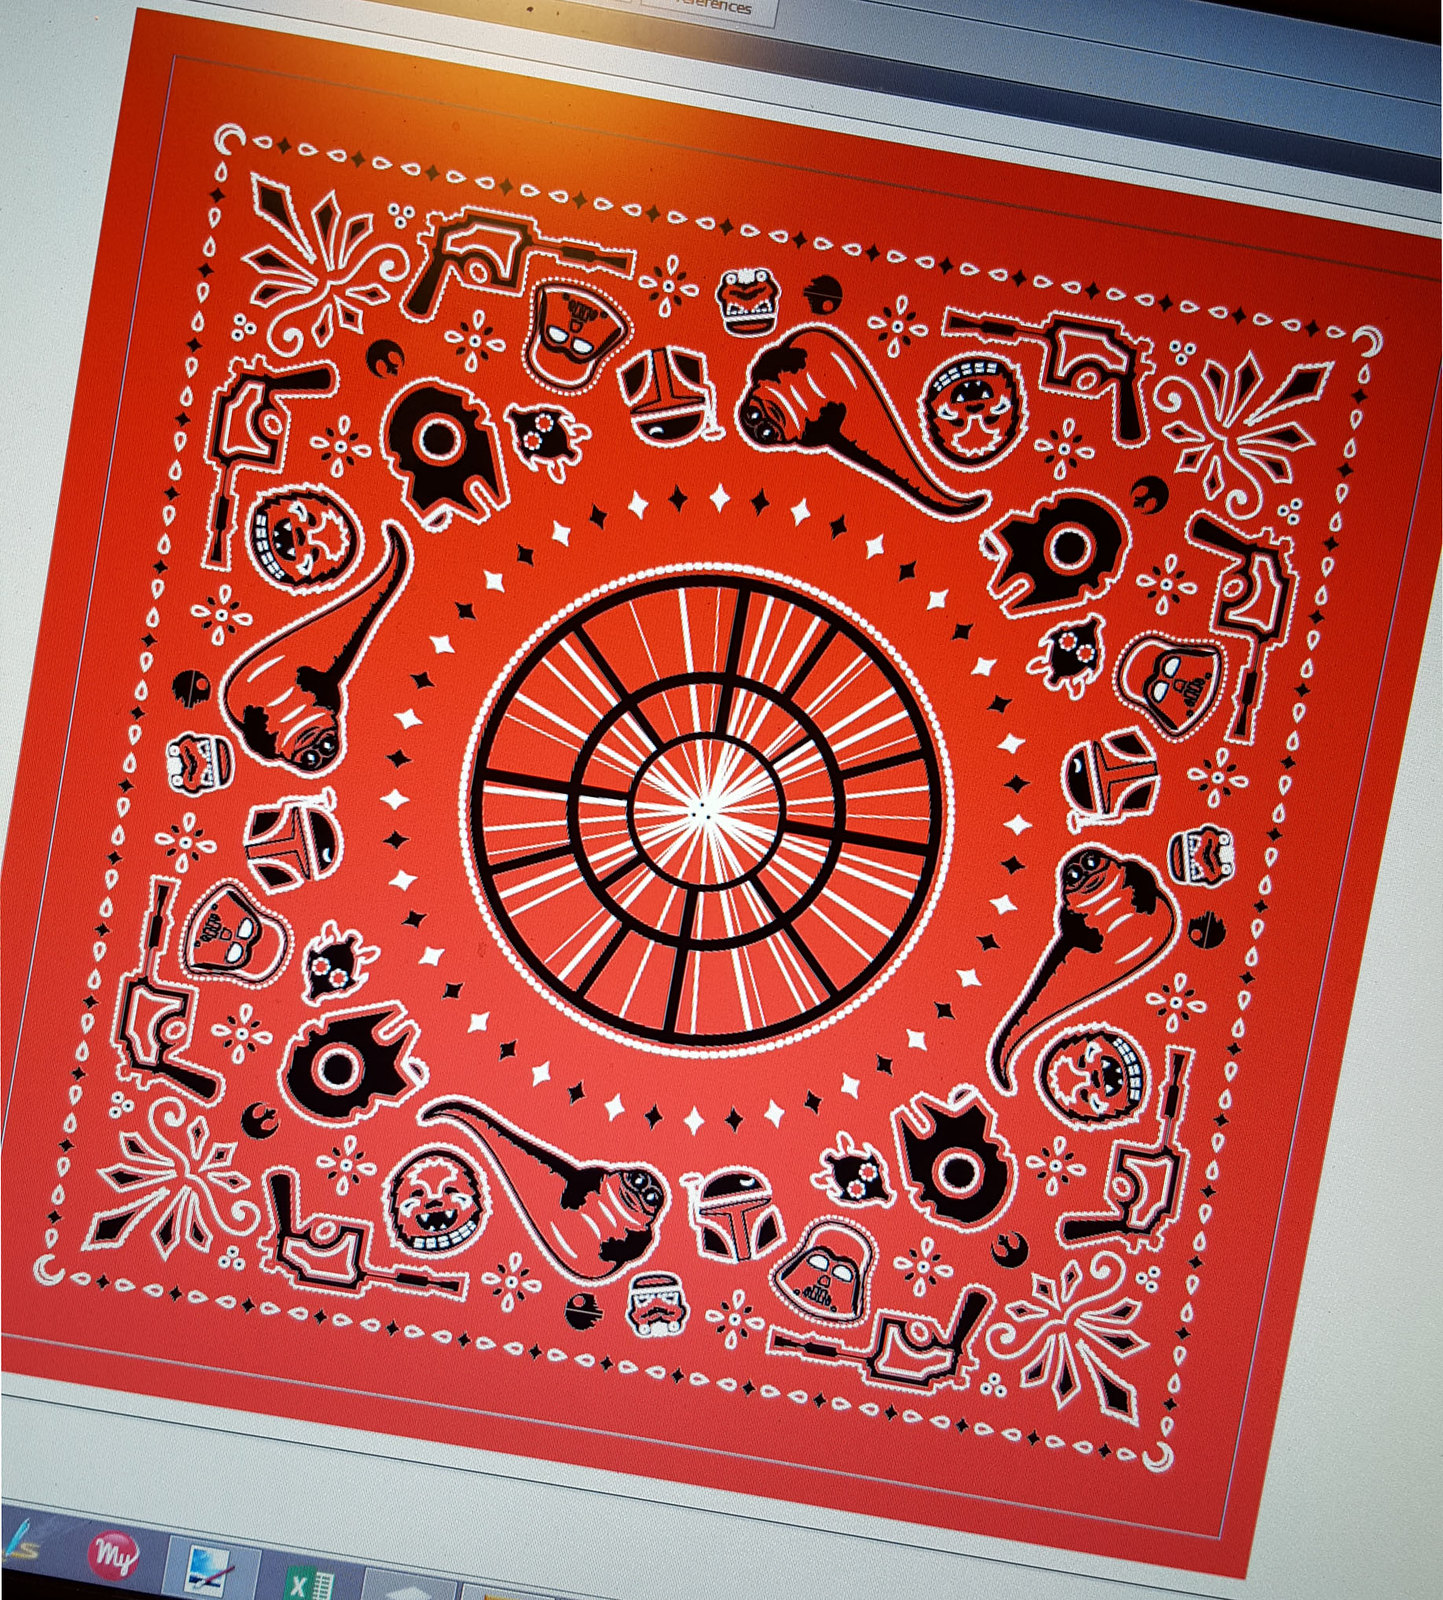
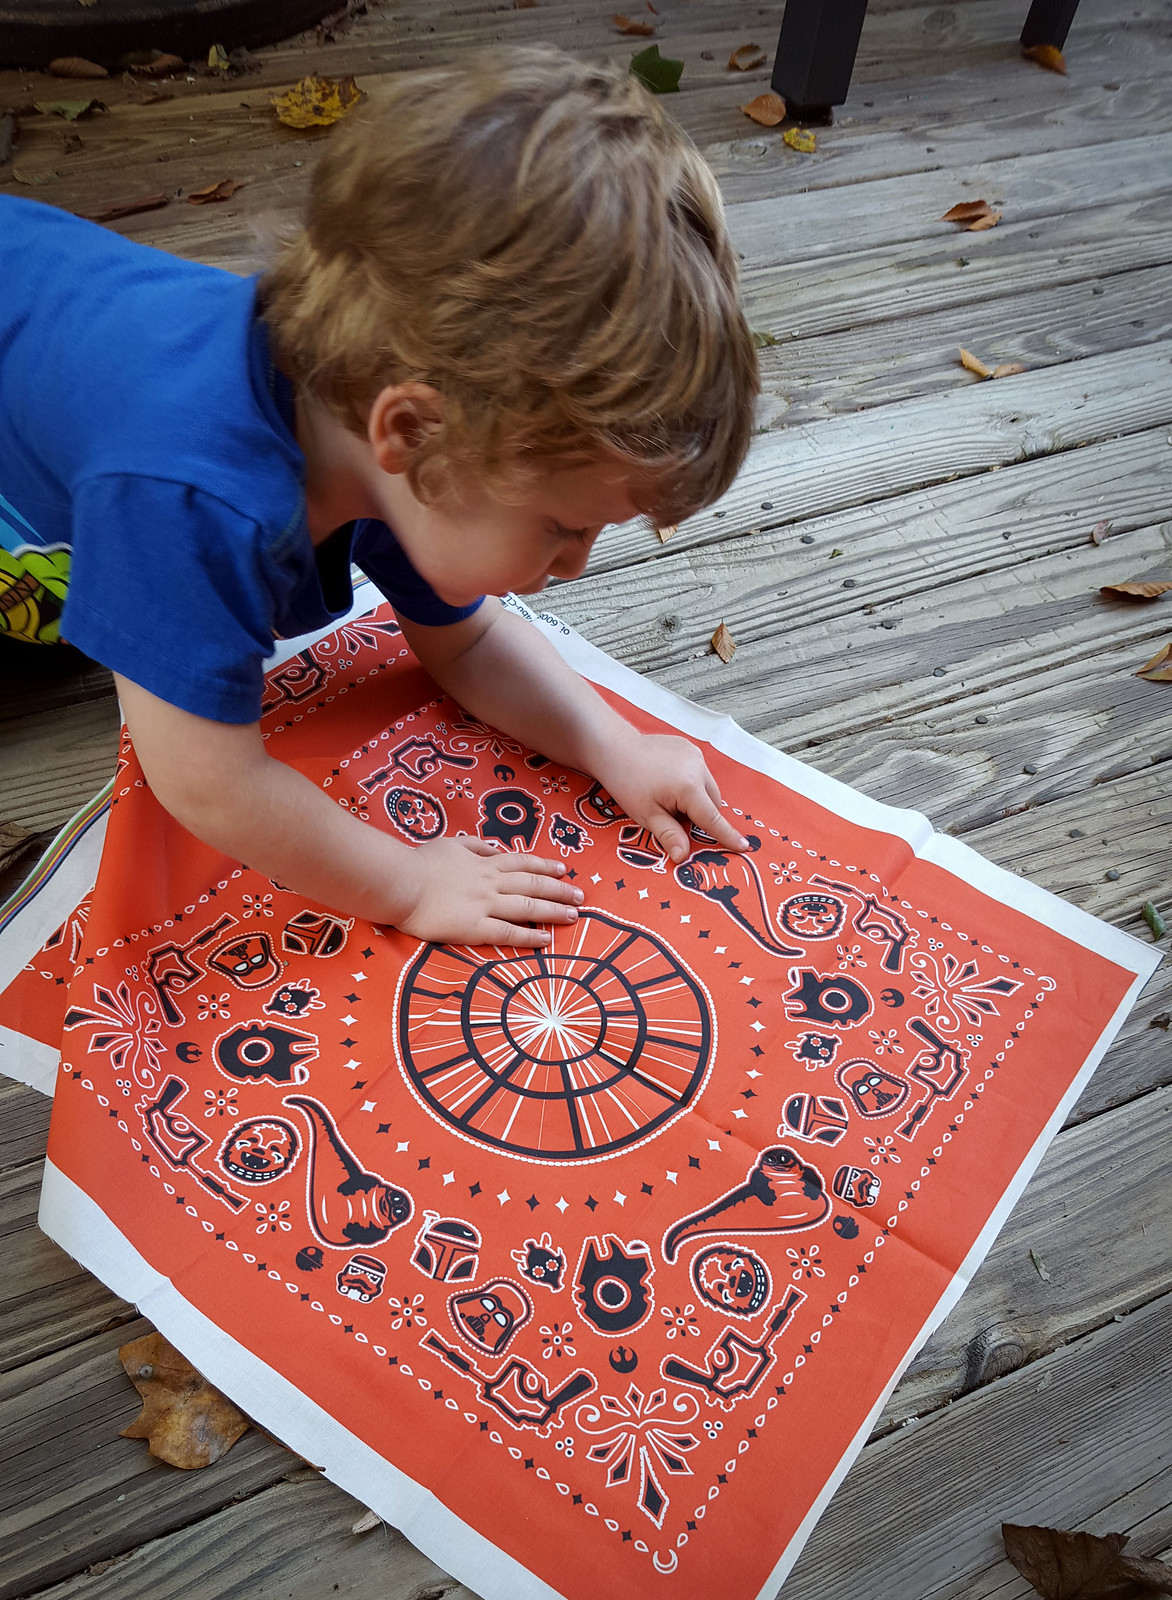
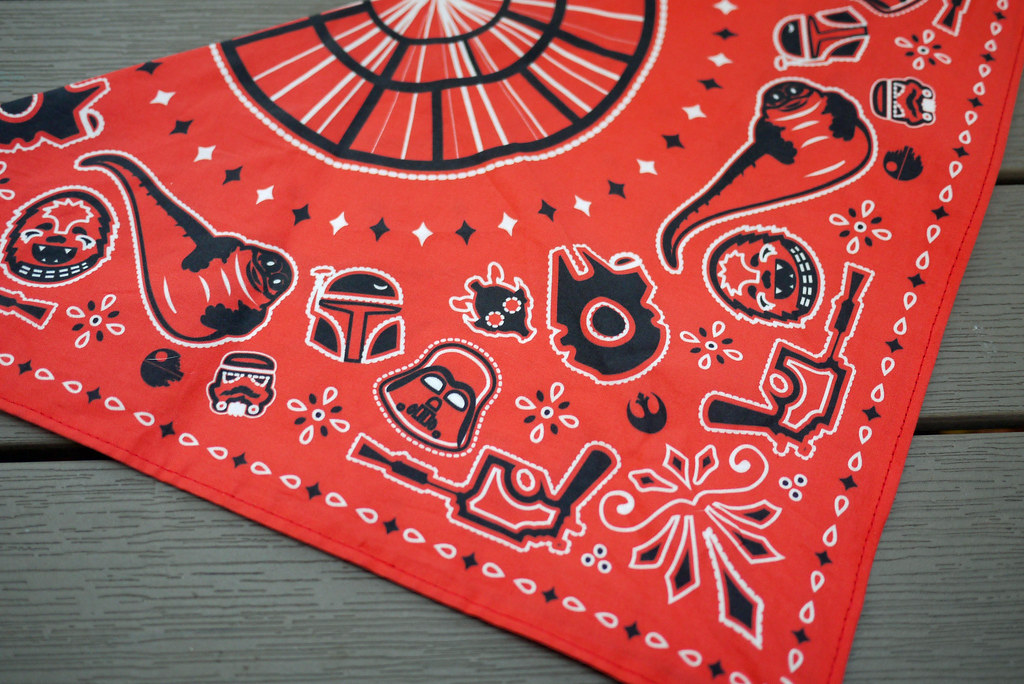
There are so many fun details in this costume, and I’ll try to touch on all of them. First was the bandana. Taking inspiration for a traditional red and white printed bandana, I set out to make a Star-Wars inspired version.

Woody Solo Costume in Progress: Bandana

The final product turned out better than I could have hoped, especially considering my limited skills in AI. It went off to Spoonflower for printing.

Woody Solo Costume in Progress: Bandana

He loved finding all of the characters once it arrived. As always, I was very pleased with the print quality.

Woody Solo Costume in Progress: Bandana

A quick trim and hem and it was finished.

Woody Solo Costume

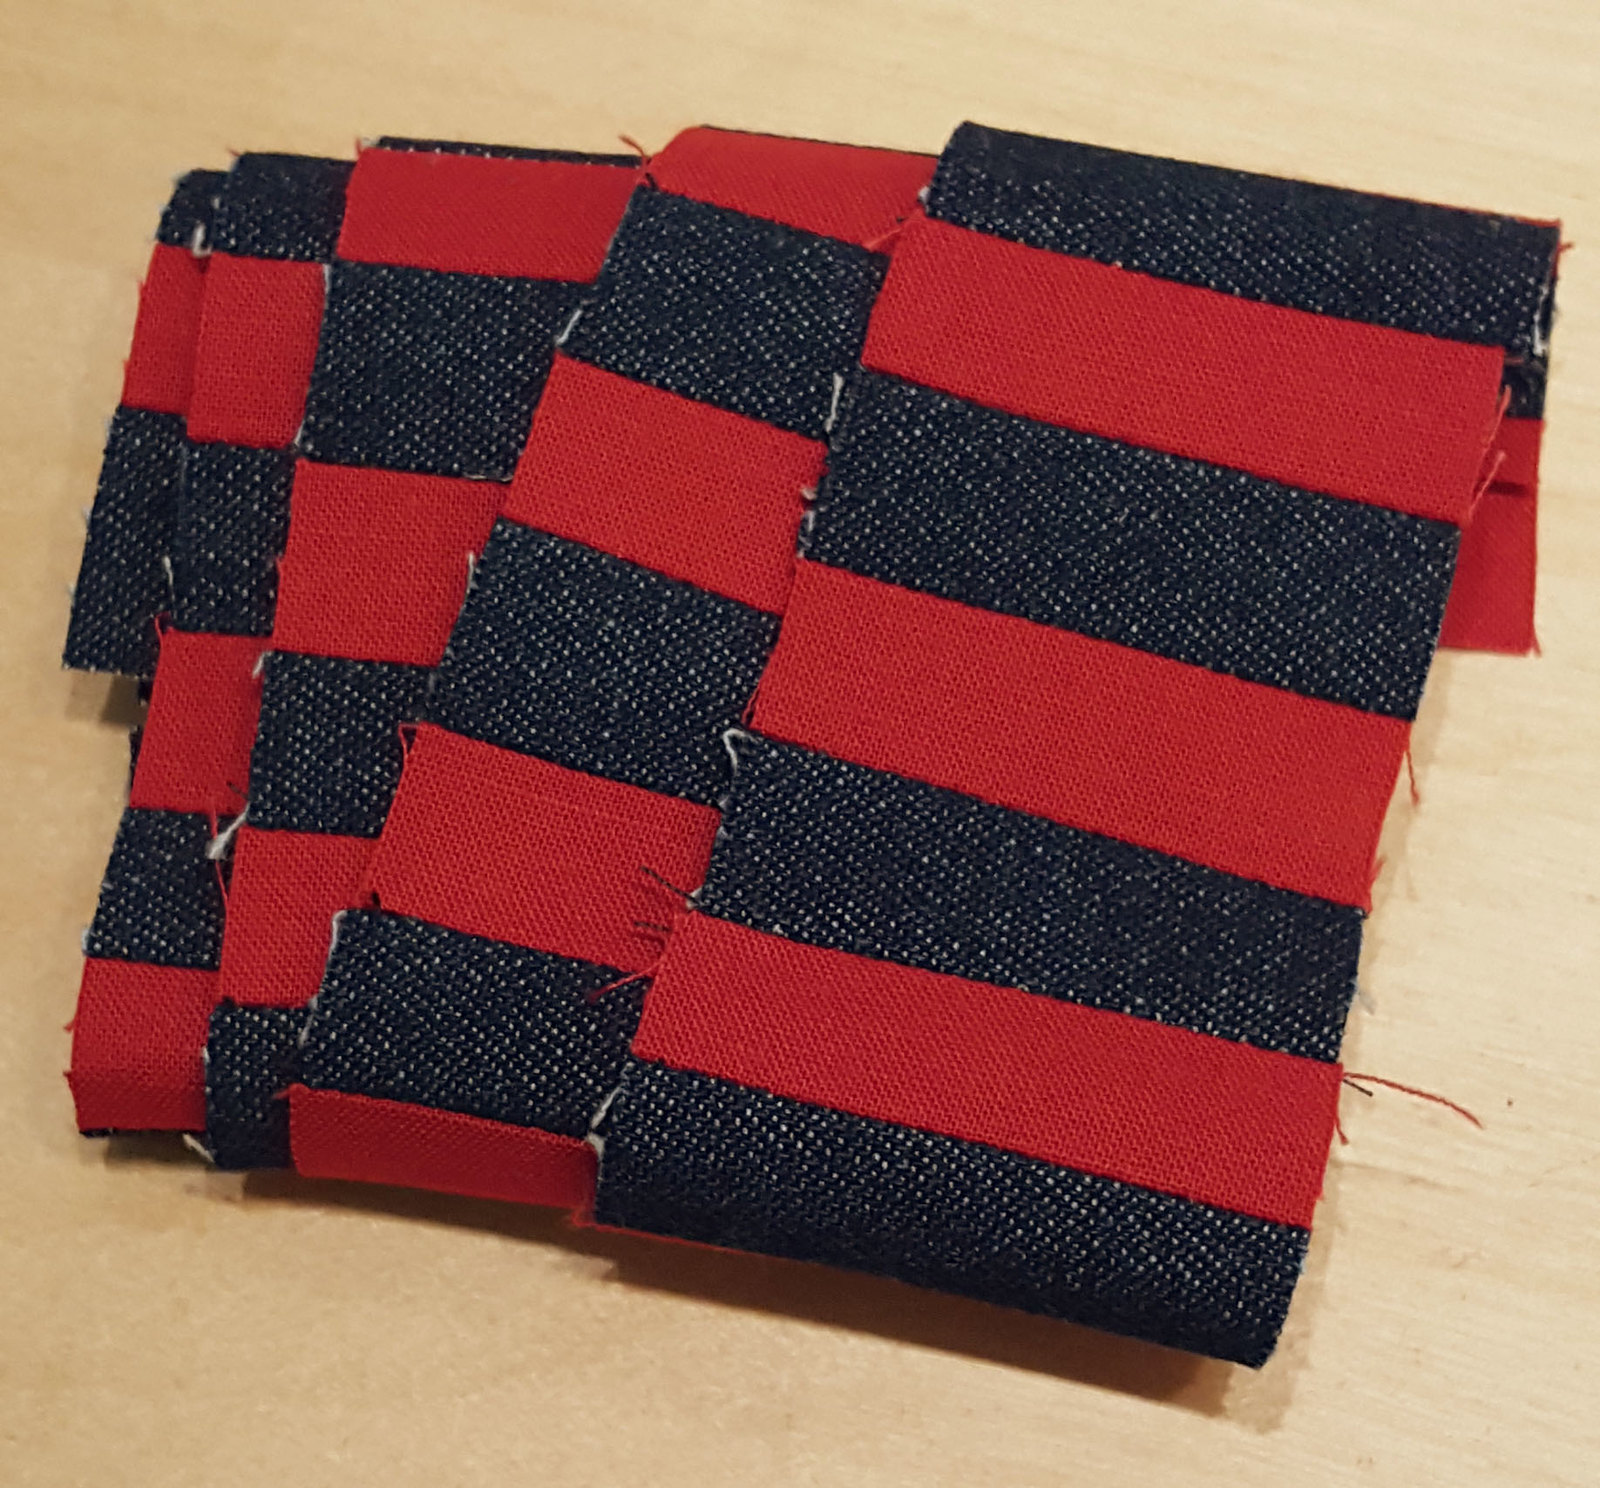
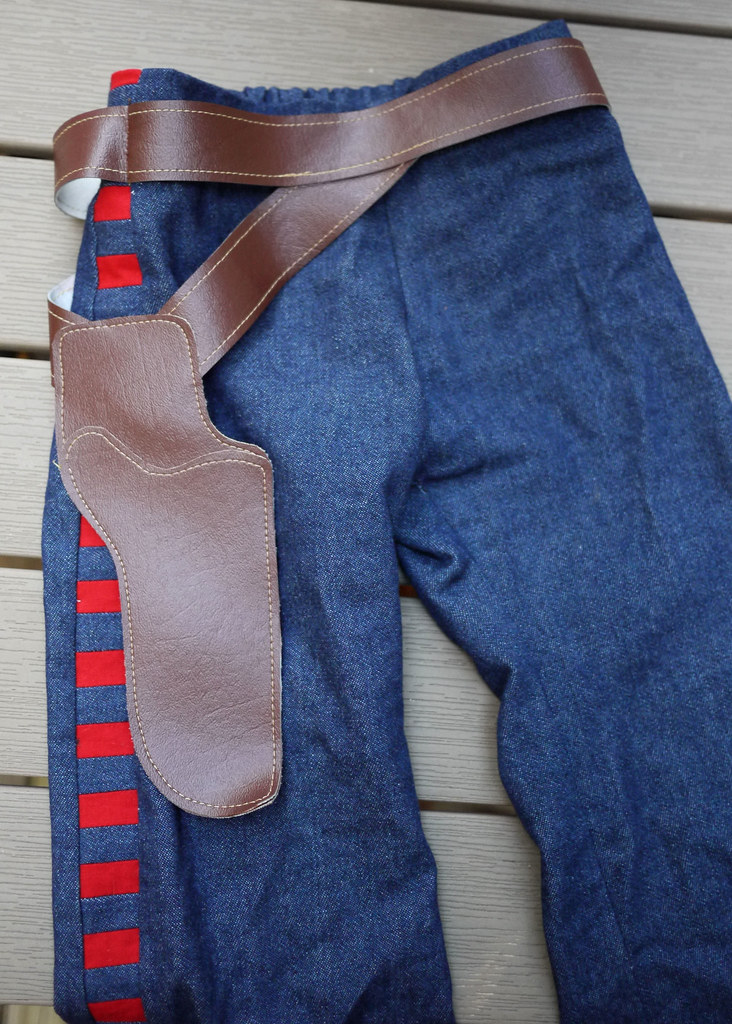
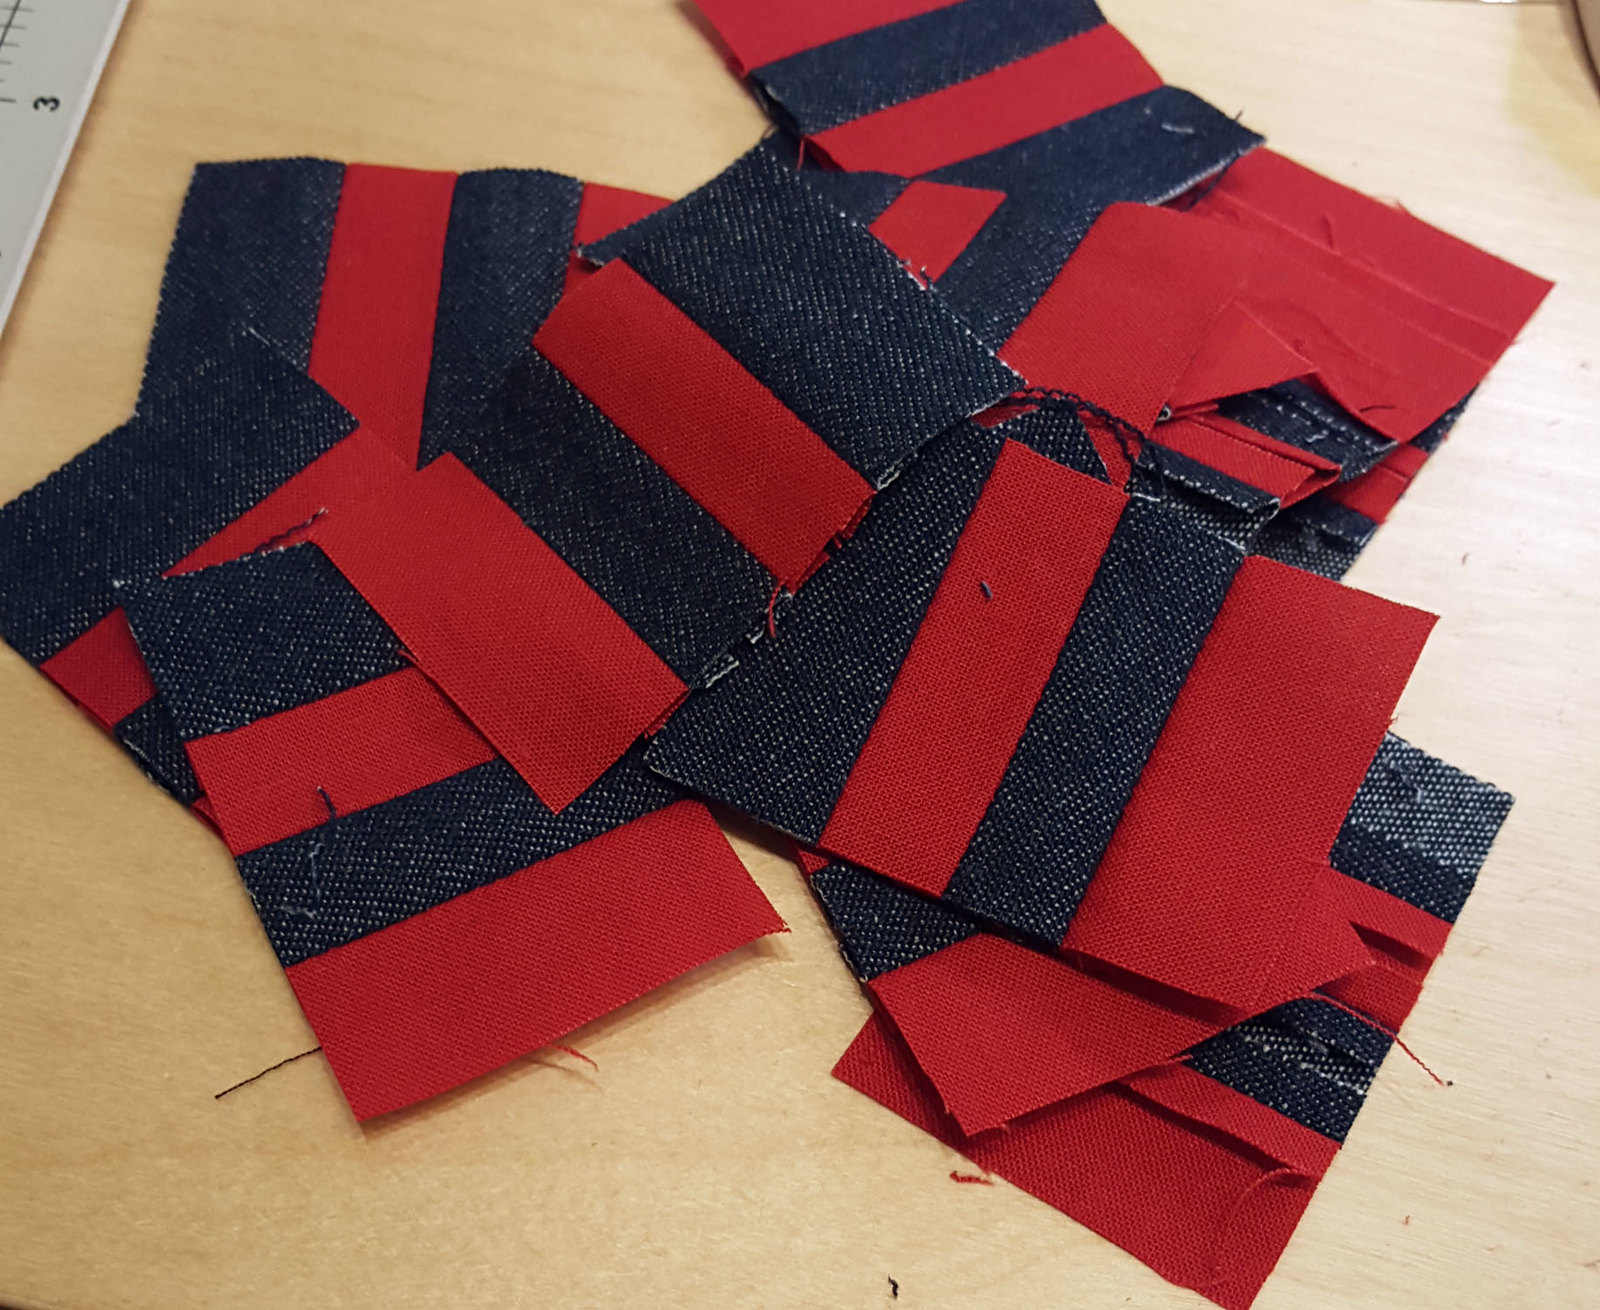
For the pants, I wanted to incorporate denim (Woody) and Corellian blood stripes (Han).
Woody Solo Costume in Progress: Pants

Woody Solo Costume in Progress: Pants

The pattern is free from Dana Made It – Kid Pants. I trimmed a bit off of each outer leg seam allowance to make room for a strip of stripes.

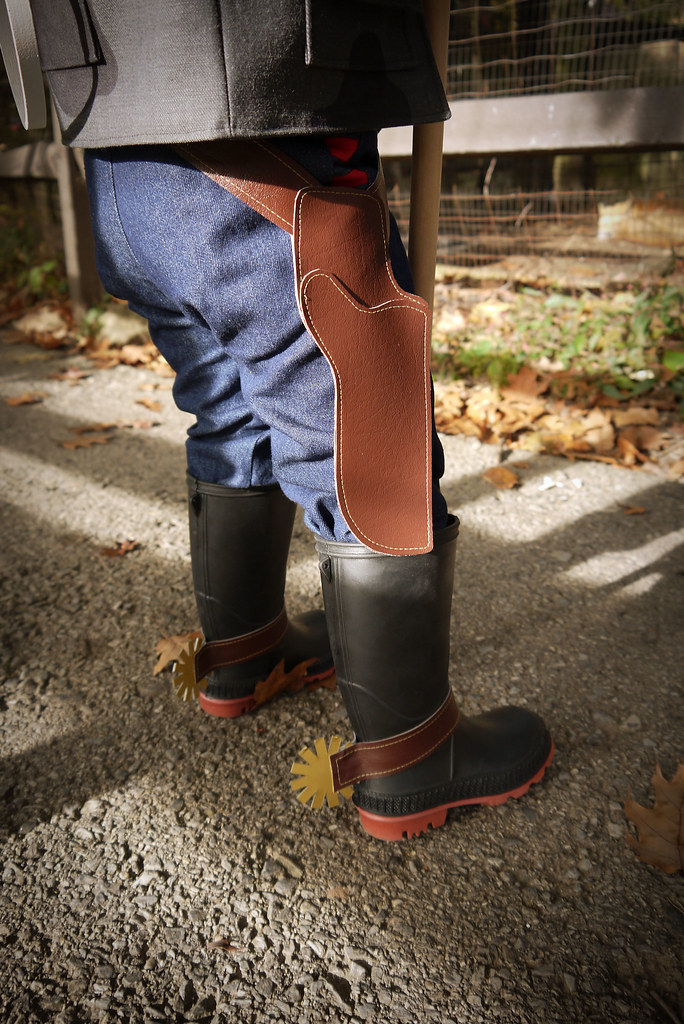
I used the flat front option. Scraps of topstitched vinyl were used for the belt and holster.

Woody Solo Costume

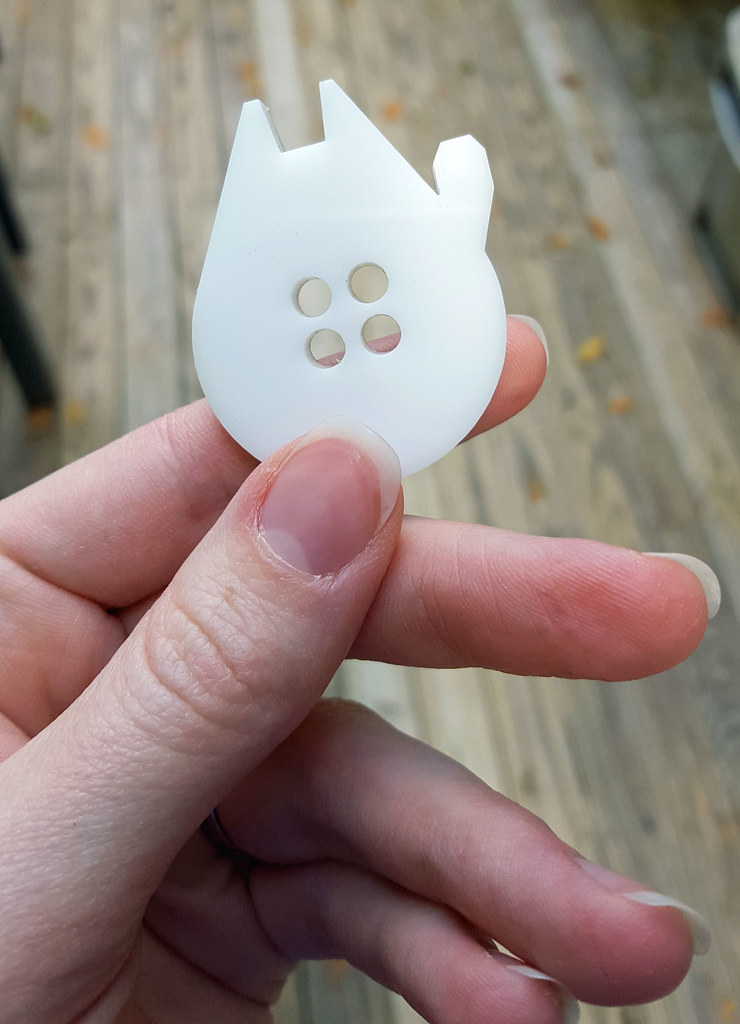
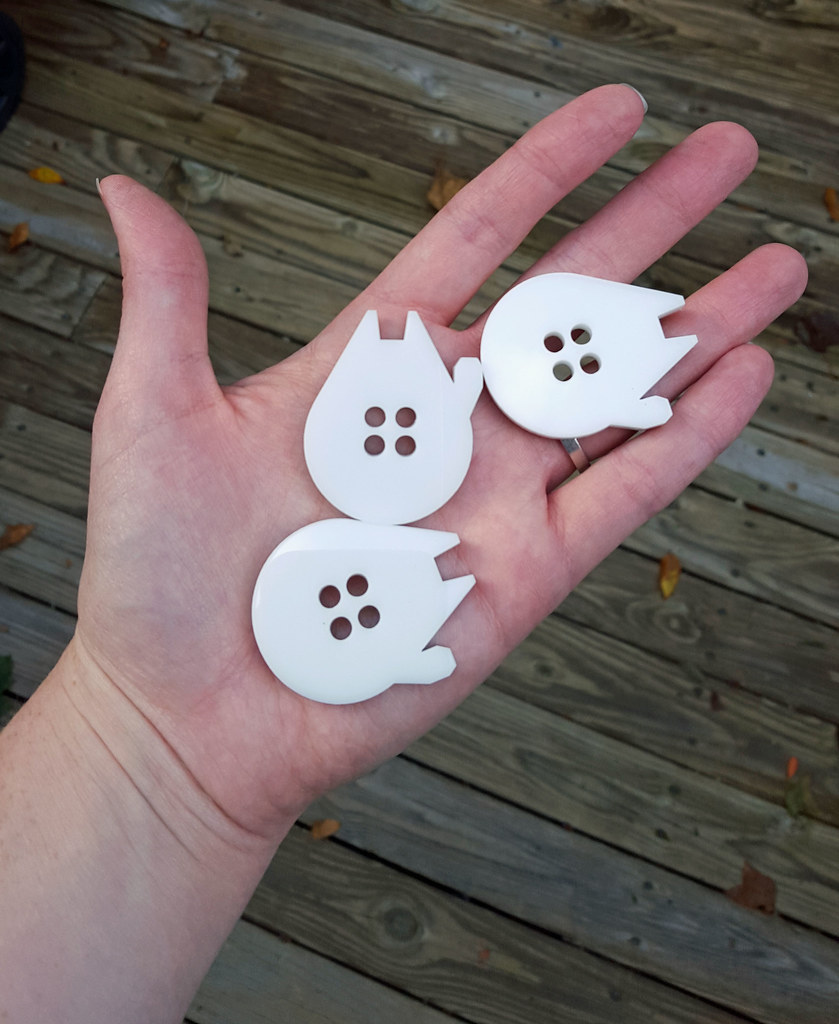
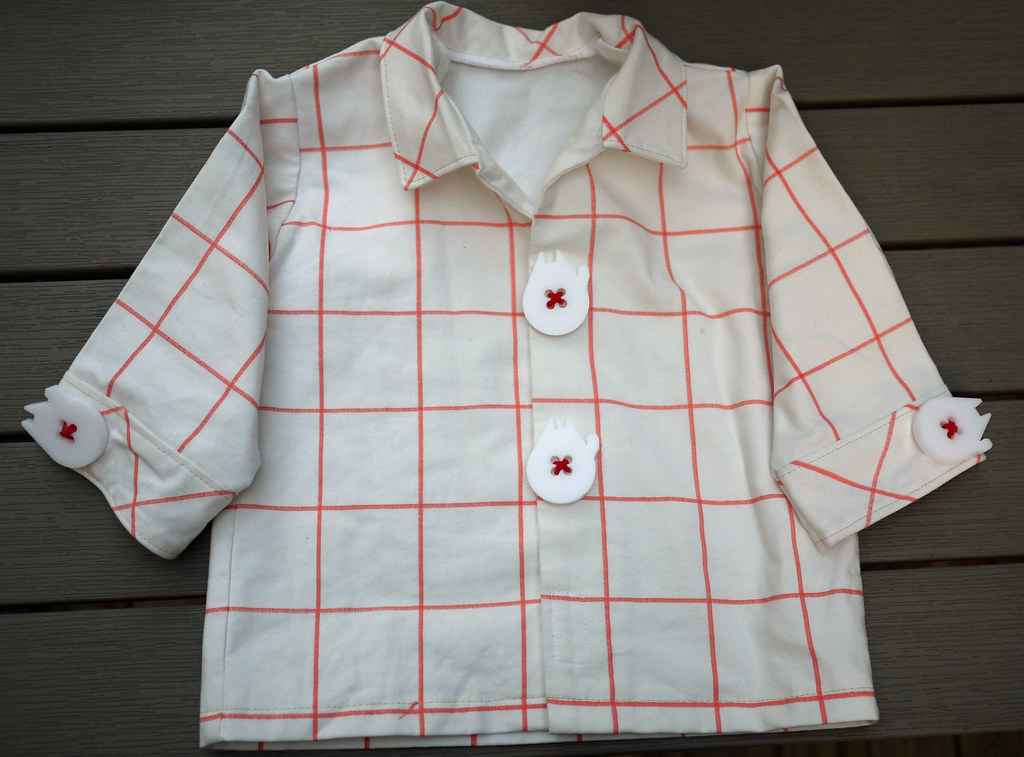
It’s tough, but if I had to pick my favorite part of this costume, it would probably be these Millenium Falcon buttons. I designed a very simple outline in Illustrator, and had them laser cut by Ponoko. Their service is so easy to use, even for a novice like myself. They make prototyping and pricing out options incredibly user friendly. I was able to get exactly what I wanted, within my budget, after a few small design tweaks. Their customer service is top notch, too! [No one is paying me to gush, I was just honestly impressed.]

Woody Solo Costume in Progress: Millennium Falcon Buttons

After making the costume, I still have four buttons left over. Any suggestions?

Woody Solo Costume in Progress: Millennium Falcon Buttons

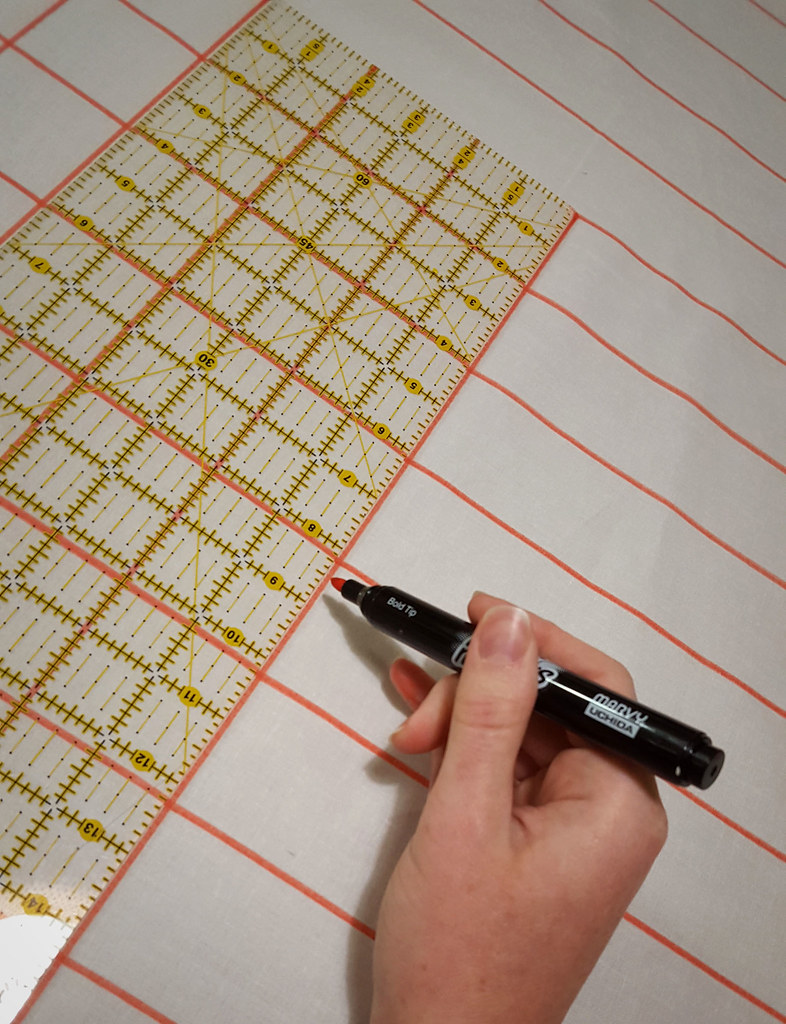
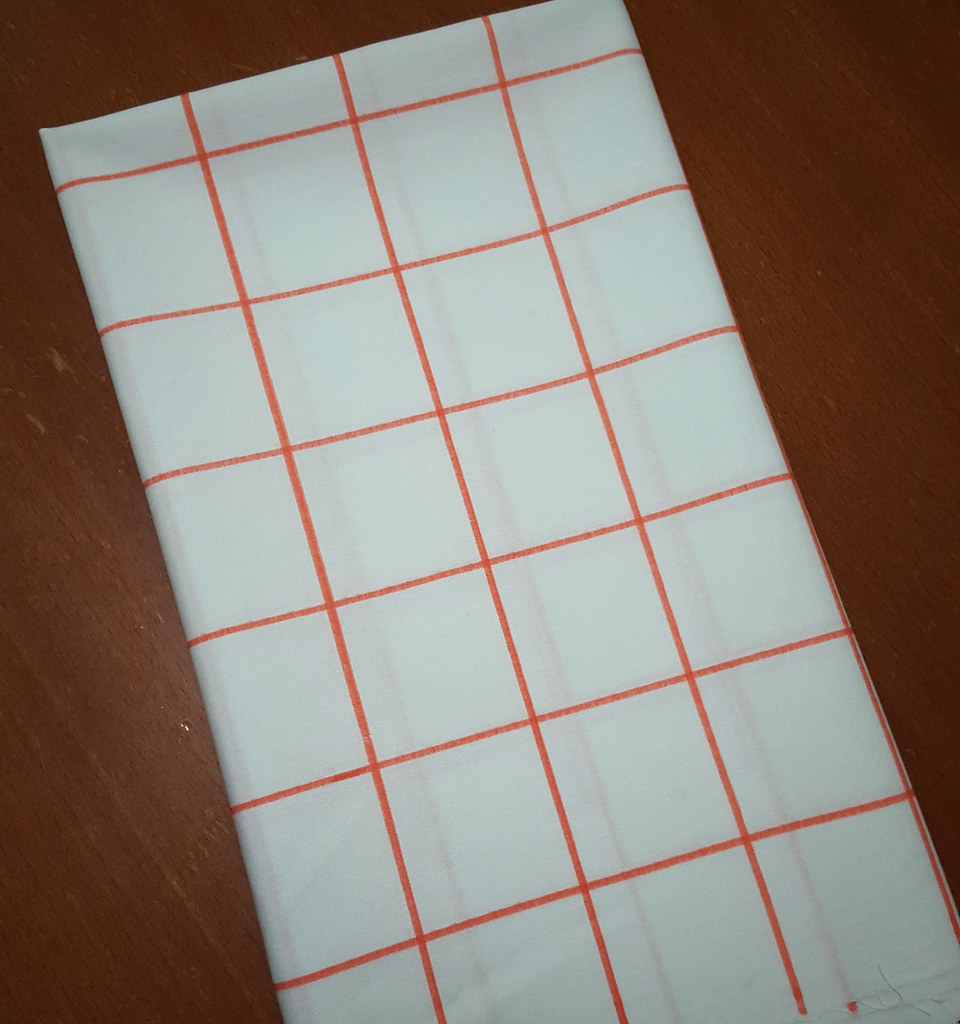
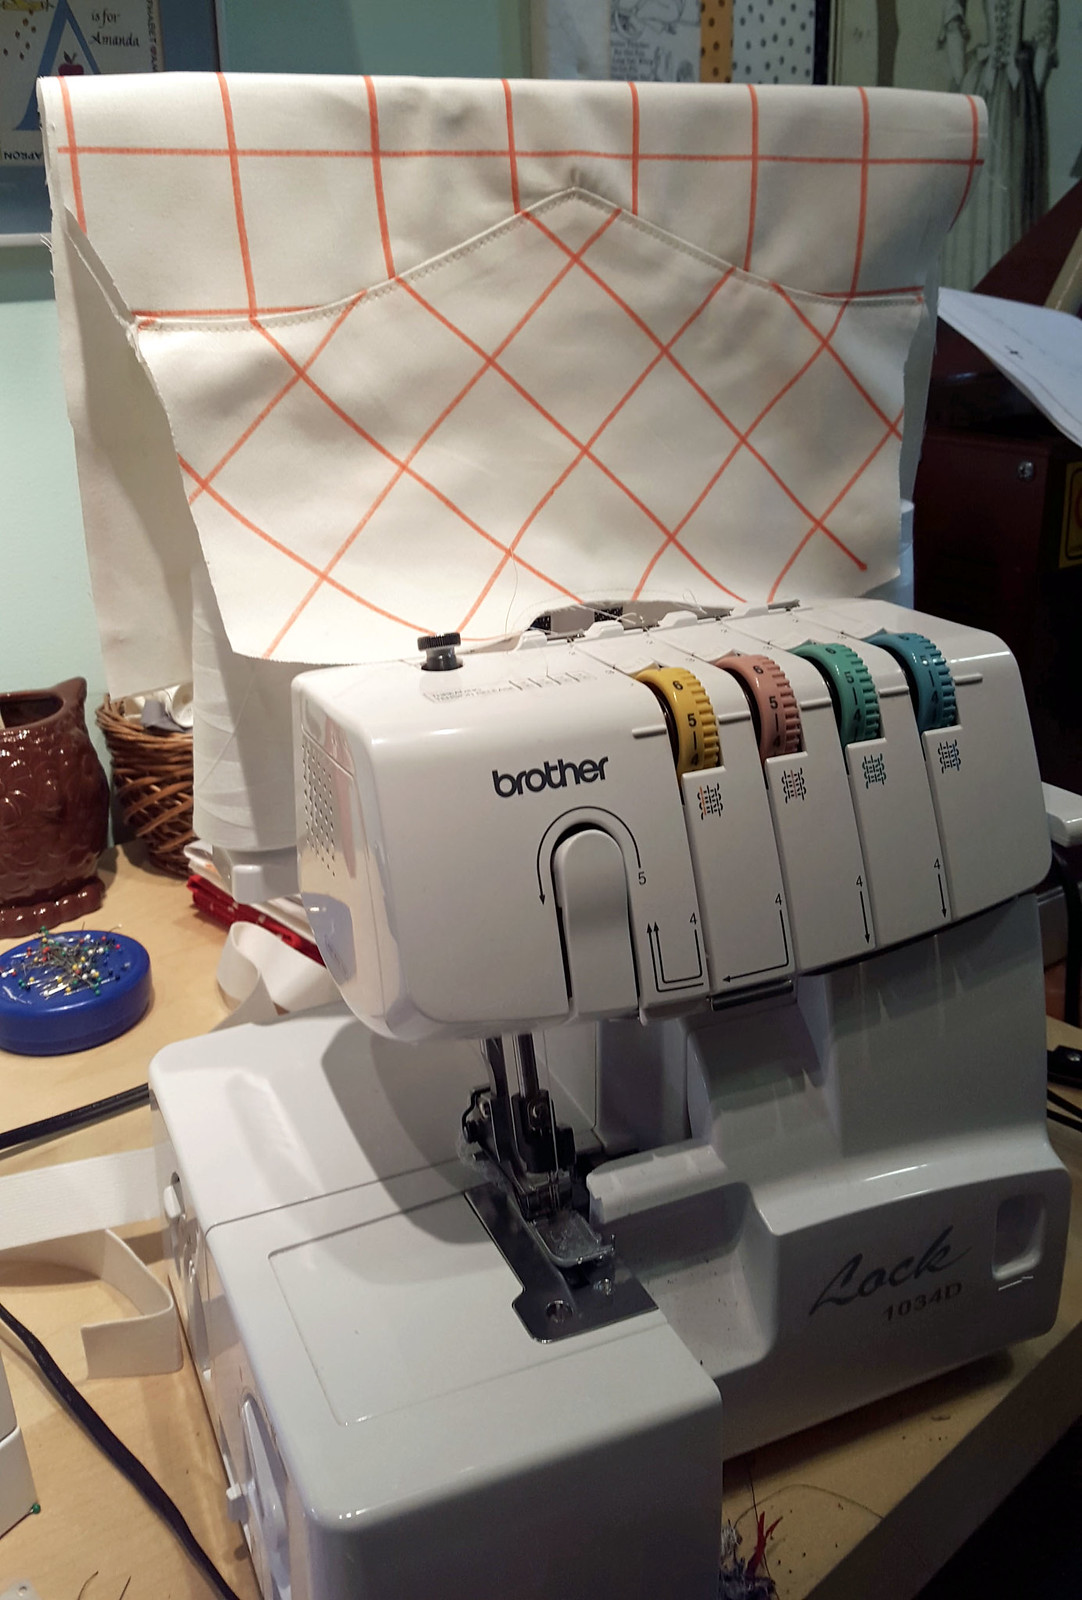
On to the shirt. It quickly became clear that I wasn’t going to be able to find the white and red checked fabric that I had in mind. Again, this is a mix — Woody’s shirt is yellow with red checks, and Han’s is white/off white. I improvised with white cotton and a red permanent fabric marker.

Woody Solo Costume in Progress: Shirt

Woody Solo Costume in Progress: Shirt

The pattern for this shirt is another freebie, Western Style Toddler Shirt from Barmy Beetroot. My modifications were a velcro closure, faux buttons, and lengthening the sleeves from short to long. I also cut the cuffs, collar, and back yoke on the bias.

Woody Solo Costume in Progress: Shirt

Woody Solo Costume

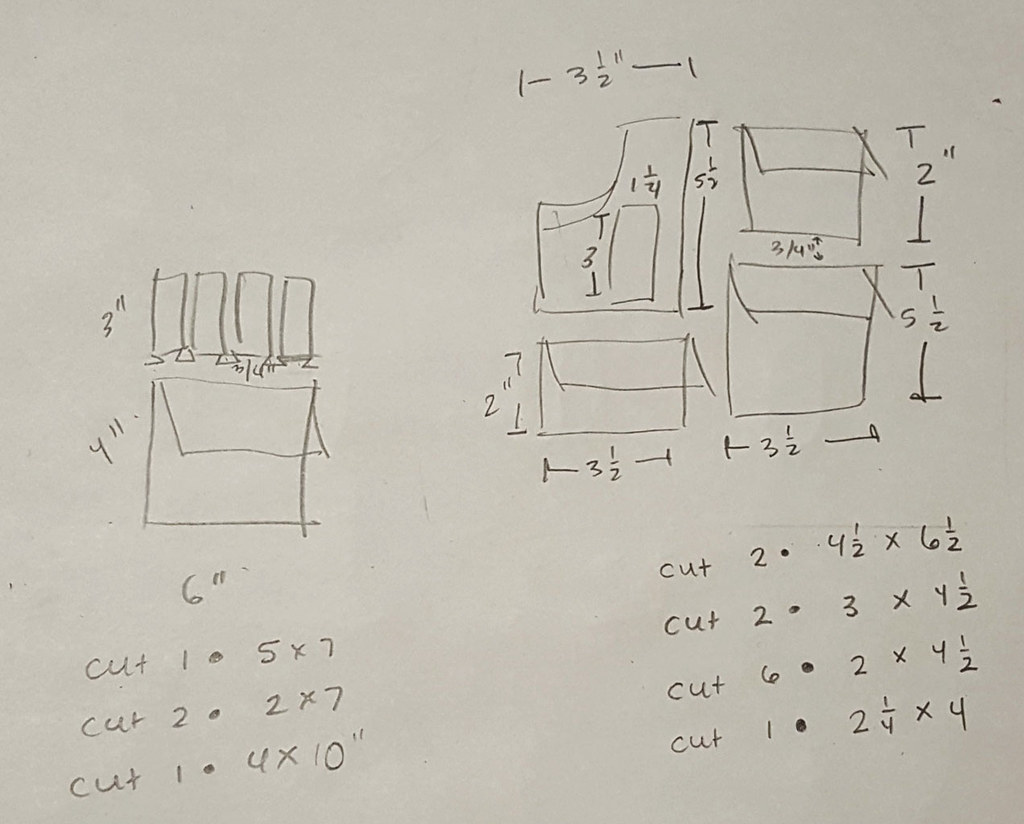
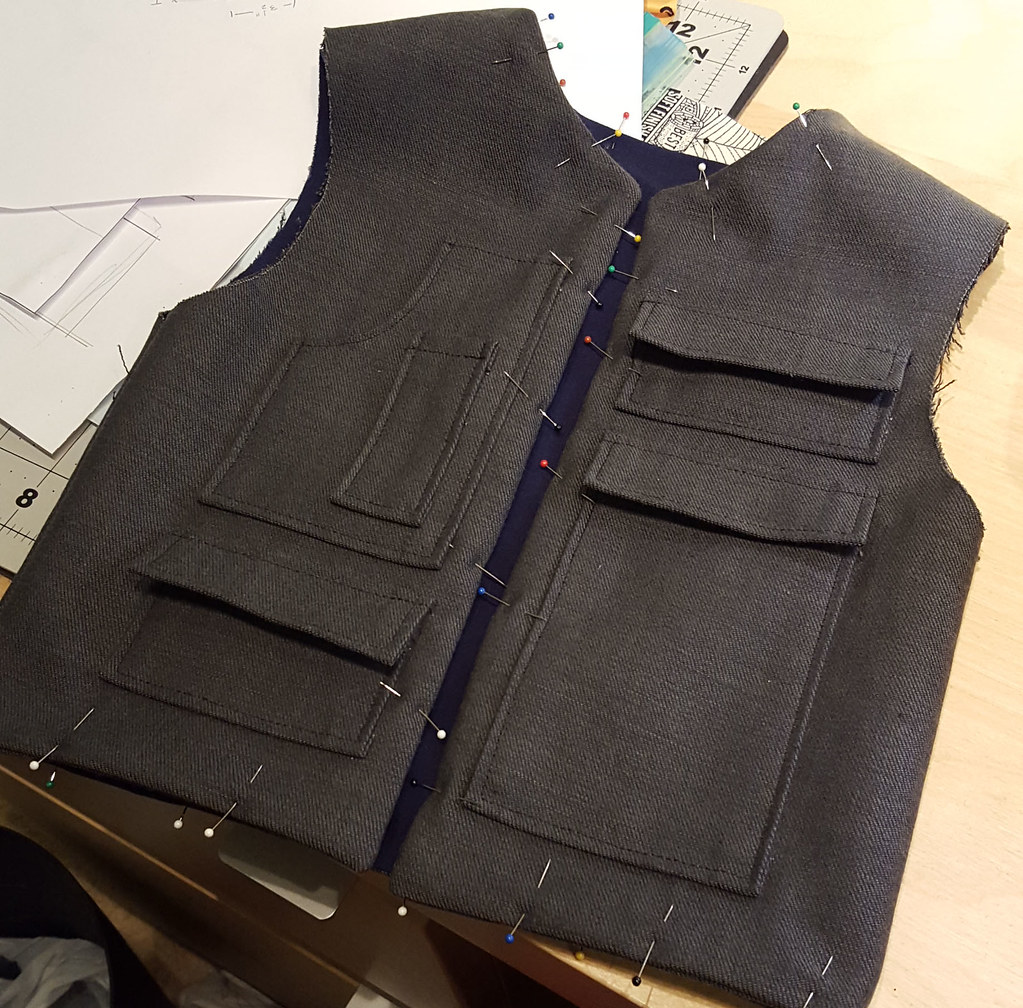
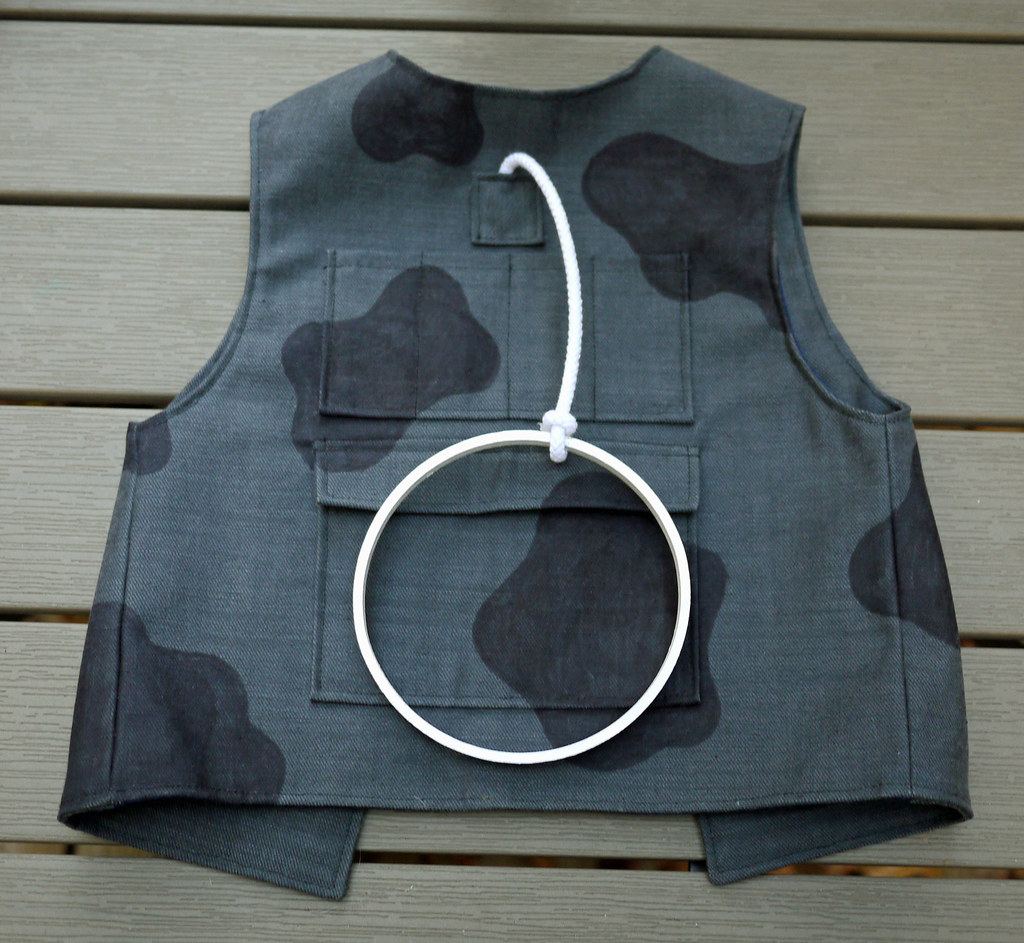
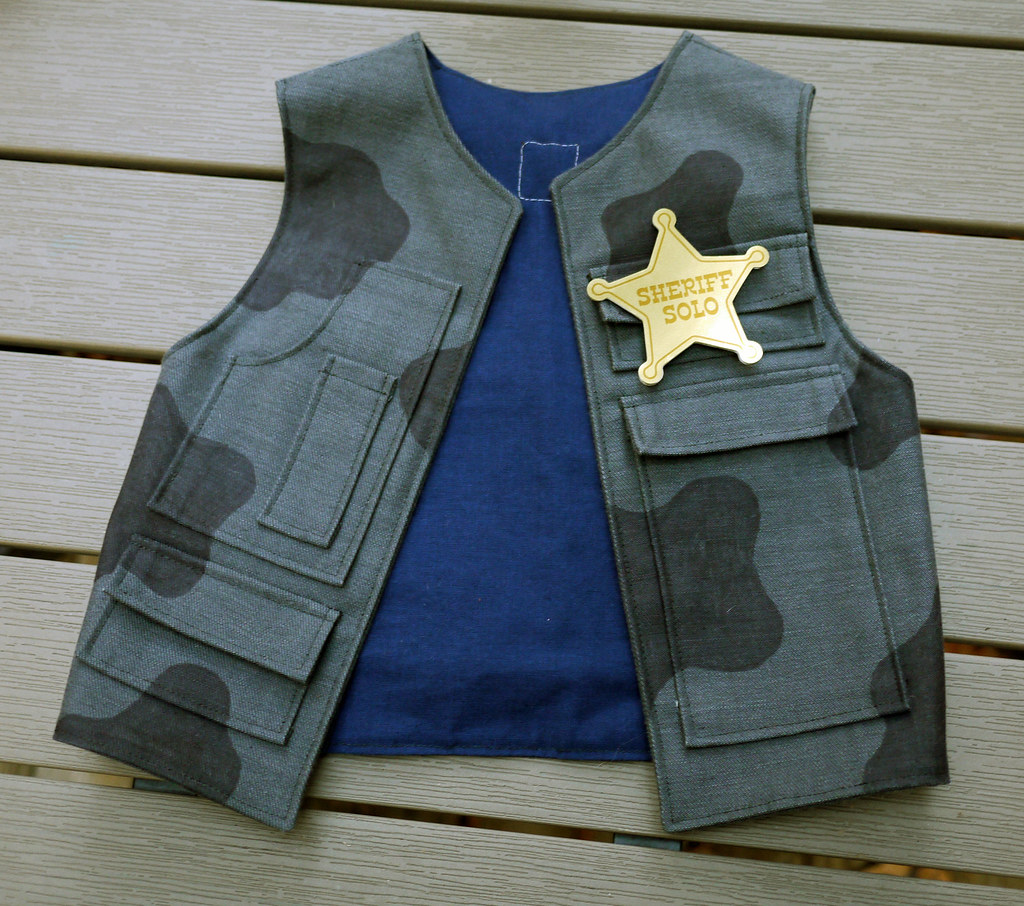
For the vest, I drew the structure from Han and the cow print from Woody. First, I sketched out the pocket placement from movie stills and figured out rough measurements.

Woody Solo Costume in Progress: Vest

The vest pattern was the free (surprise!) Very Cozy Vest from Made by Marzipan.

Woody Solo Costume in Progress: Vest

The cow print was freehanded with black Sharpie. Doesn’t get any easier than that! Woody Solo Costume
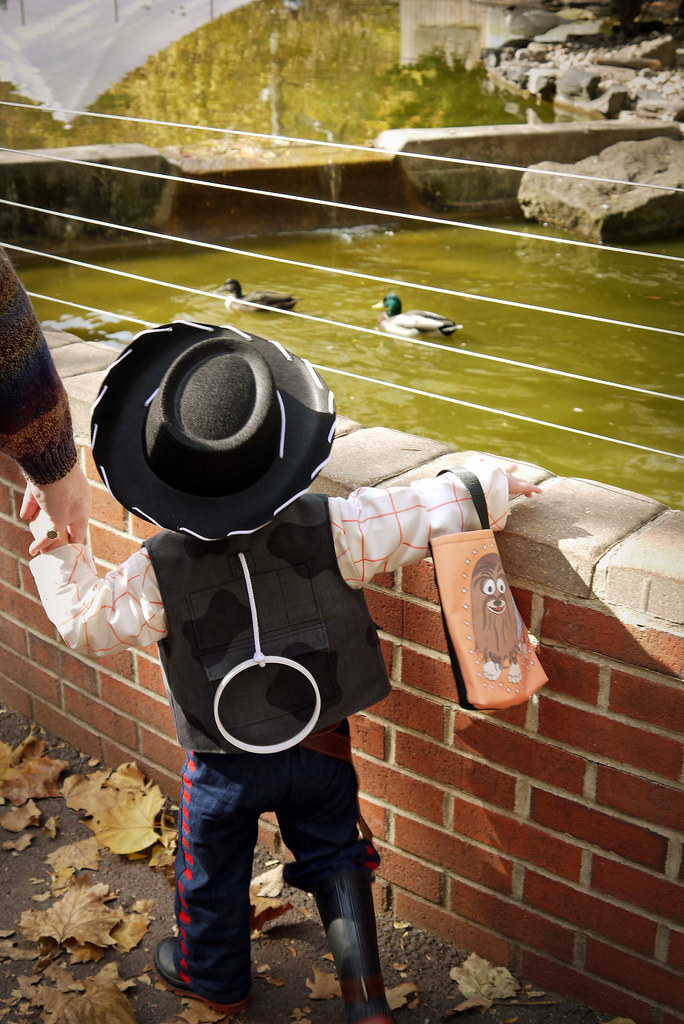
Another favorite detail — Woody’s pull string. A bit of cord from the fabric store coupled with a painted embroidery hoop innard.

Woody Solo Costume

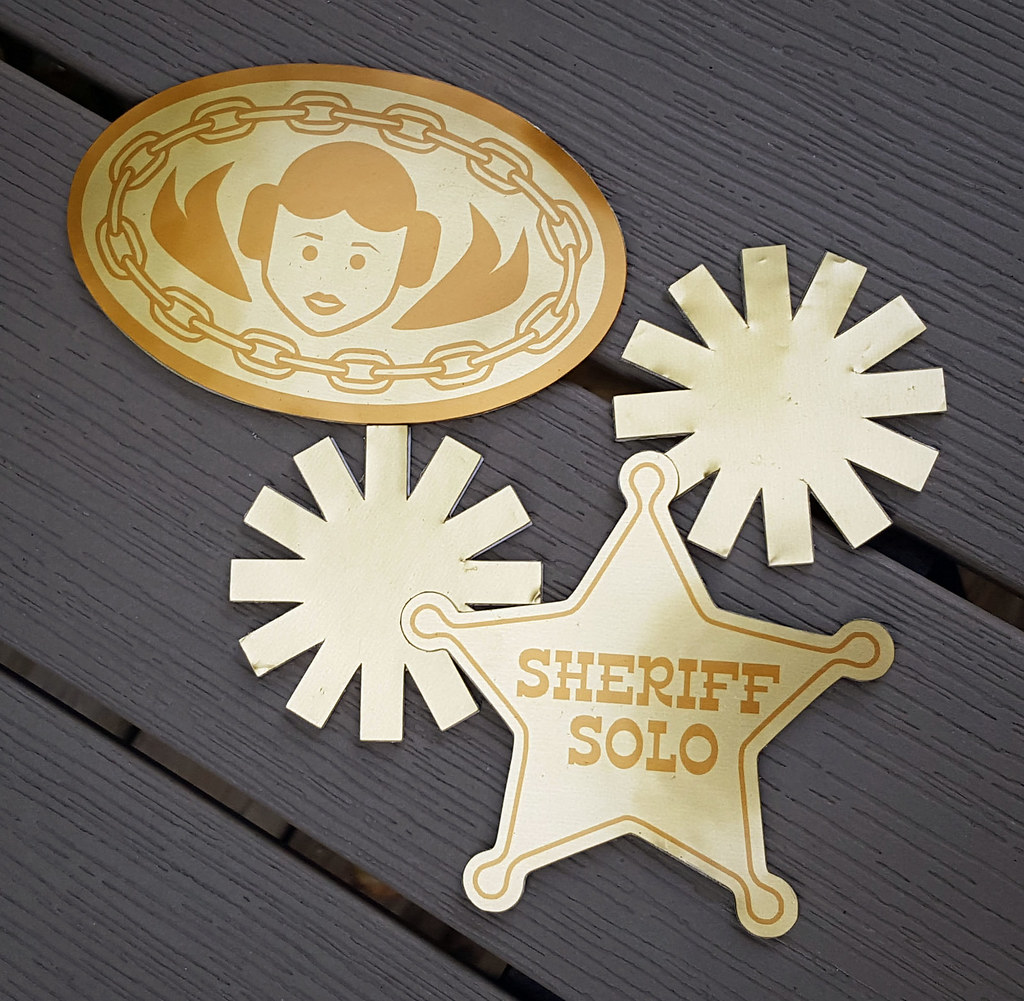
Of course, I’ll take any excuse to use my Silhouette Cameo! The belt buckle, spurs, and badge were all designed with the Silhouette software. Each design was cut out of cereal box cardboard twice, then adhered together with my Xyron machine.

I then used the print & cut feature with Silhouette’s printable & adhesive gold foil. Layered al together, it made for sturdy pieces. I used a metallic gold marker around the raw edges to cover up the white from the cardboard.
Woody Solo Costume in Progress: Accessories

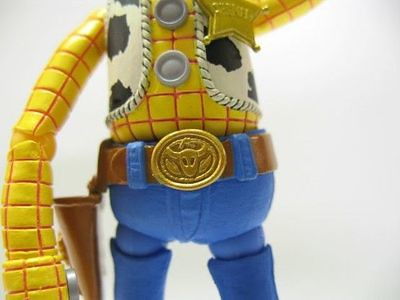
Here’s a screencap of Woody’s belt buckle, to show where I got my inspiration for the Leia buckle.

Woody's Belt Buckle

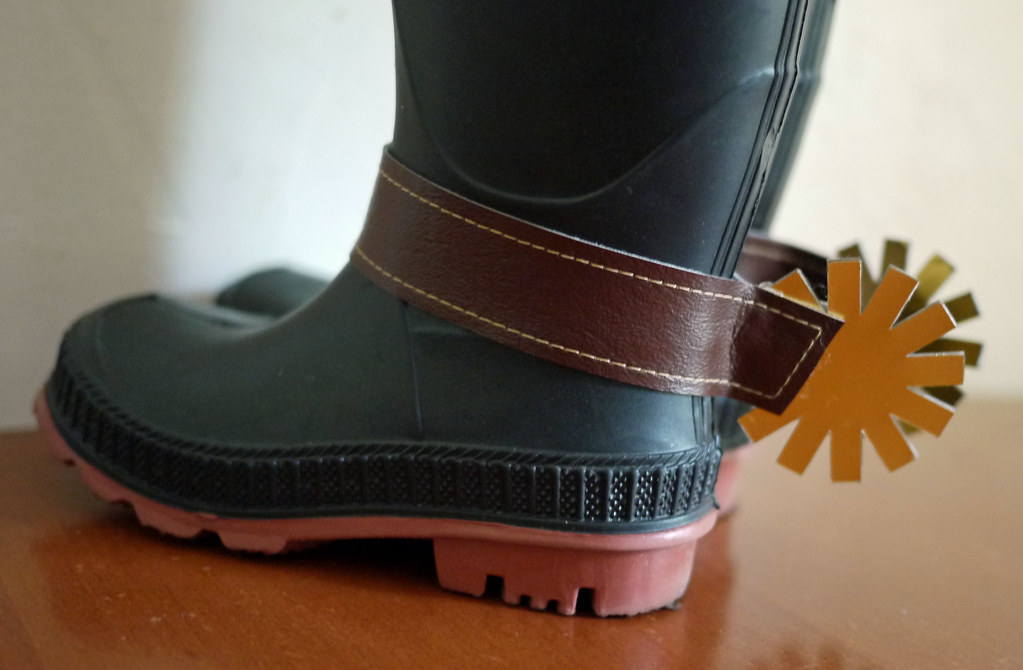
Originally I had attempted to make boot covers, but I couldn’t get them to look how I had pictured them. Instead, we picked up a cheap pair of black rain boots, which I decorated with strips of topstitched vinyl and the gold foil spurs.

Woody Solo Costume in Progress: Boots & Spurs

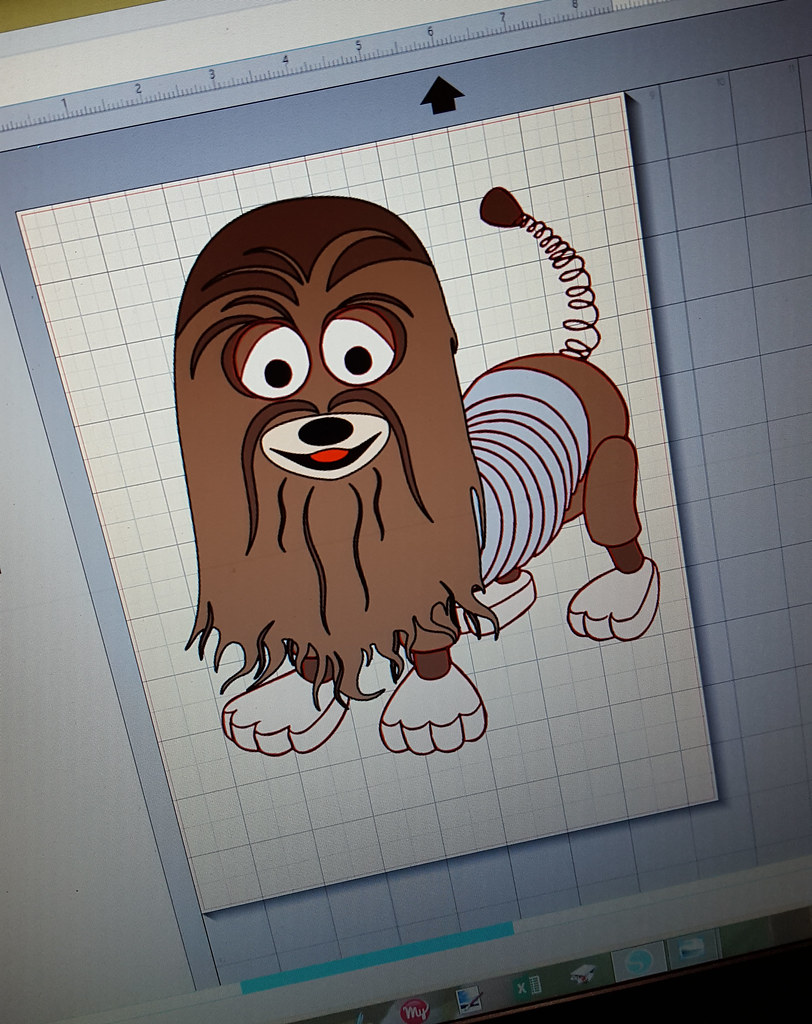
The finishing touch was the treat bag. I puzzled over it for a week or so, before settling on a mix of Woody’s pal and Han’s sidekick — Slink & Chewbacca. It took some time, but I came up with a design that I liked.

Woody Solo Costume in Progress: Slink/Chewbacca Treat Bag

The finished image was printed on Sillhouette’s printable canvas. It was a fast way to finish up, but I wish the colors had been a bit more saturated. It fit the bill, though, and was stuffed full of goodies on Halloween night.
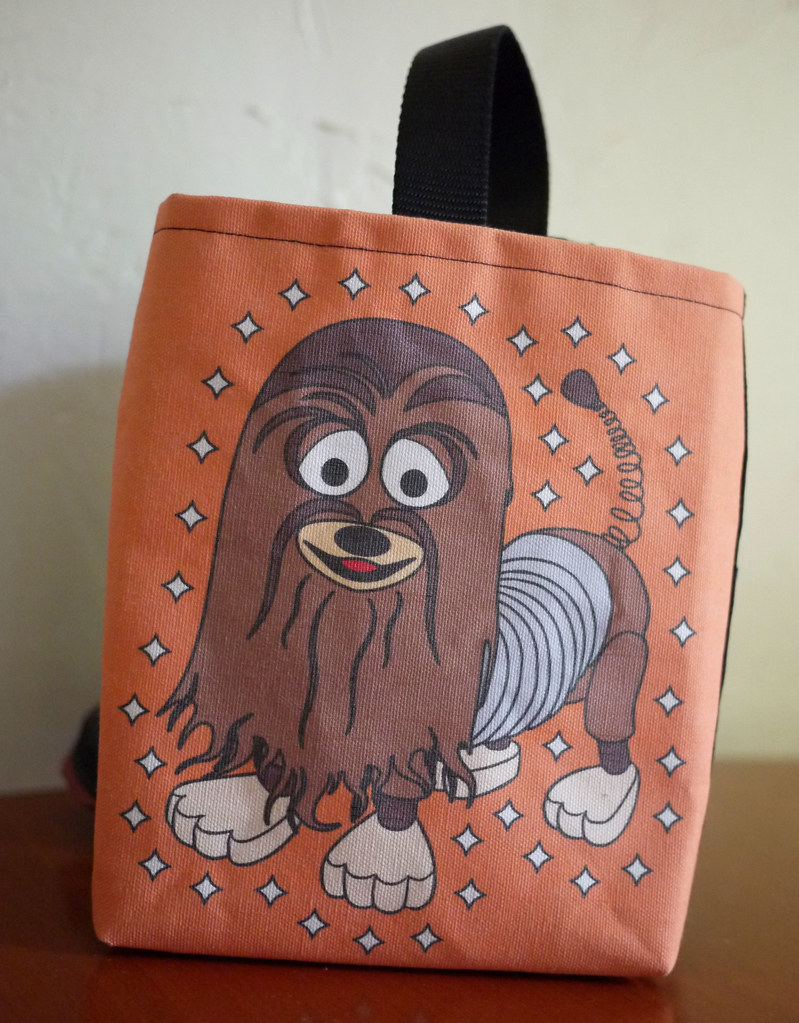
Woody Solo Costume in Progress: Slink/Chewbacca Treat Bag
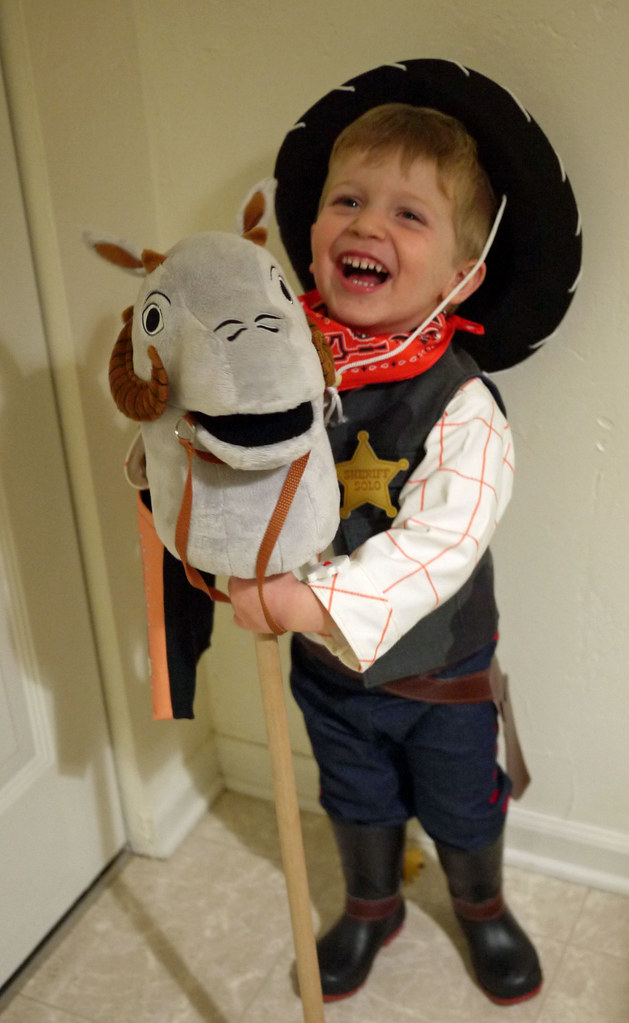
Here are a few more pictures of our cowboy enjoying his costume.

Woody Solo Costume

Woody Solo Costume Woody Solo Costume

One final detail: the tauntaun hobby horse. Unfortunately it’s no longer available, as it was an exclusive from the 2012 Star Wars Celebration convention. I bought it back then to decorate our son’s nursery. It was great to incorporate it as part of his costume.

Woody Solo Costume

So another Halloween is on the books… and I’m already looking forward to next year!

Happy Housewarming

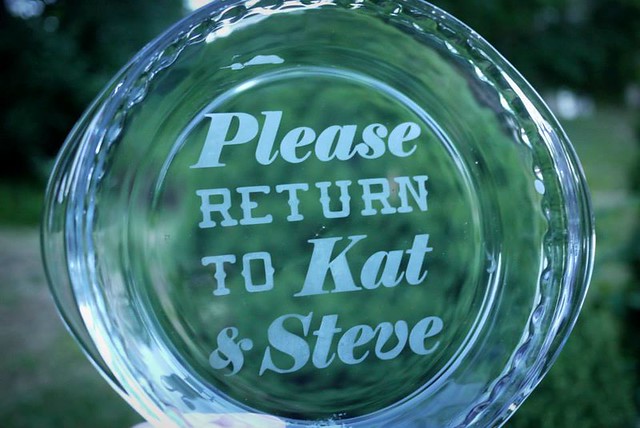
A visit to my younger sister’s new apartment required a quick housewarming gift. What to do? I used my new favorite crafting machine, the Silhouette Cameo, to put together some easy personalized gifts. And where better to start than with something I’d never tried before: glass etching.

Kitchen Towels and Pie Dish Housewarming Gift

The final project wasn’t perfect (you can ignore the two errant marks from some excess etching cream), but I feel even more confident to try this again. With a bit of care, it’s surprisingly easy to etch glass at home.

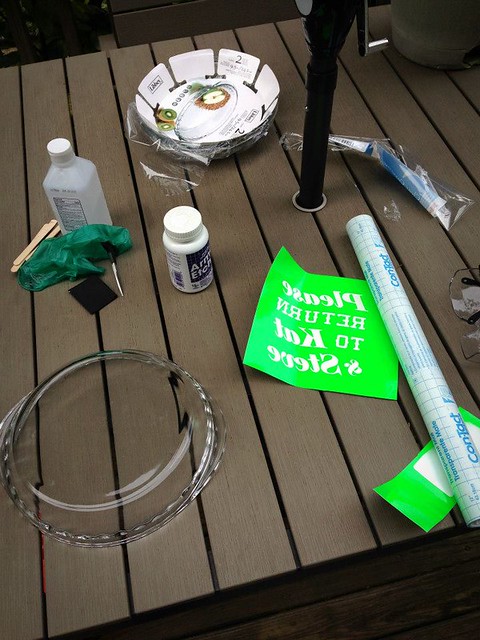
First, I came up with a simple text design and cut it out with my Cameo on scrap outdoor vinyl.

You’ll need gloves, goggles, etching cream, and something to apply the cream — I used a popsicle stick. Don’t skimp on the safety gear. This is icky stuff. Work outside if you can, like I did.

Kitchen Towels and Pie Dish Housewarming Gift

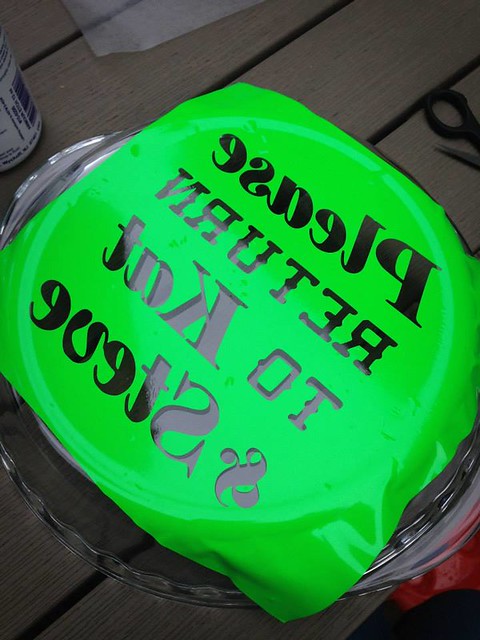
To prepare the pan for the cream, I cleaned it carefully with rubbing alcohol. I used my favorite transfer tape substitute — clear contact paper — to center the stencil on the pie pan.

Kitchen Towels and Pie Dish Housewarming Gift

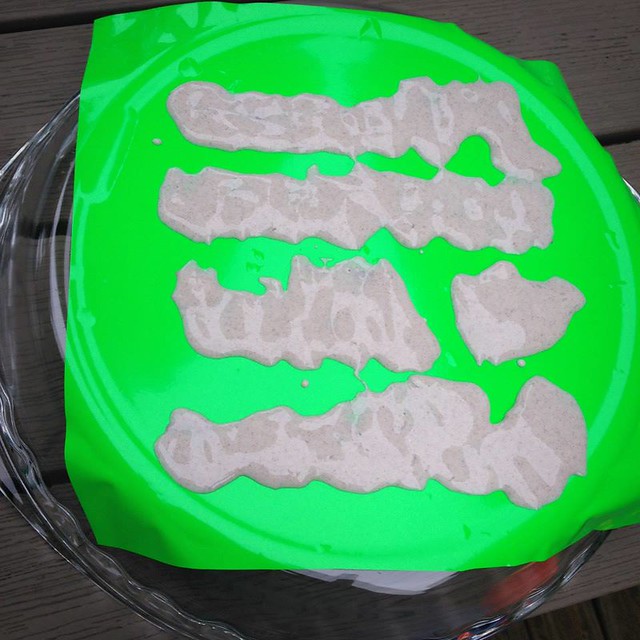
Then it’s just a matter of carefully covering all of the exposed areas with etching cream. One thing I would recommend would be to cover more of the area outside the stencil. I managed to transfer some of the cream on my gloves outside of the stencil, which could have been avoided. Lessons for next time!

I doubled the etching time recommended on the bottle to get a good, deep etch. Pro tip — the etching goop is re-useable! I scraped what I could back into the bottle, then carefully rinsed off the rest in the sink. Pulling off the vinyl revealed a perfect etch.

Kitchen Towels and Pie Dish Housewarming Gift

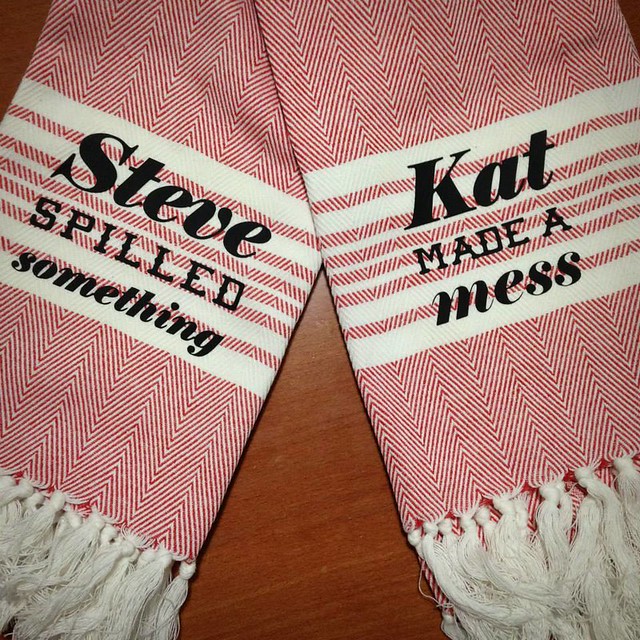
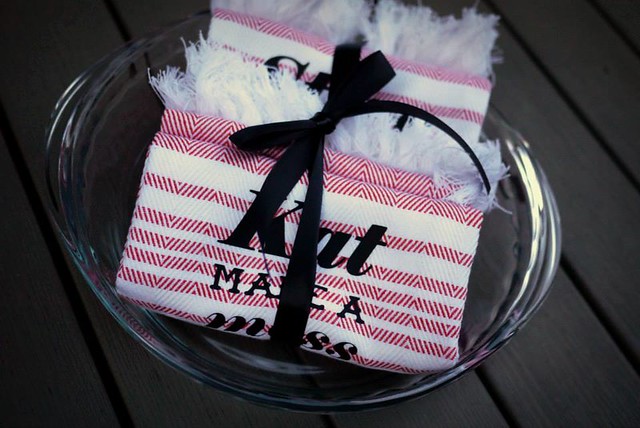
To round out the gift, I used my Cameo again, this time loaded with black heat transfer vinyl, to decorate a pair of kitchen towels.

Kitchen Towels and Pie Dish Housewarming Gift

All wrapped up and ready to go, it made for a nice little present.

Kitchen Towels and Pie Dish Housewarming Gift

World of Warcraft Diaper Cake

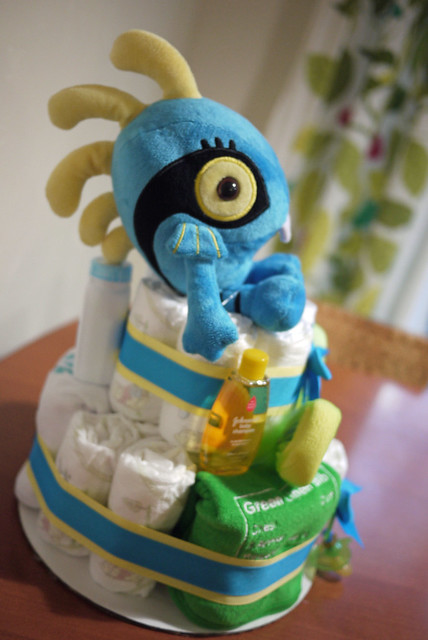
It’s always an adventure exploring fandoms in diaper cake form, so I was excited to tackle a World of Warcraft themed cake for a friend whose wife is expecting their first baby this month. I kept it fairly small and simple, and hoped that he would ‘get’  it, even if no one else at the shower did. It was a hit!

World of Warcraft Diaper Cake

Like our Star Wars nursery and the Harry Potter diaper cake that I made a few years ago, I didn’t have much luck finding WoW baby items, so I made do with some DIY instead. Knowing nothing about this game meant that lots of research was required, from funny bib ideas right down to the exact fonts used in the game.

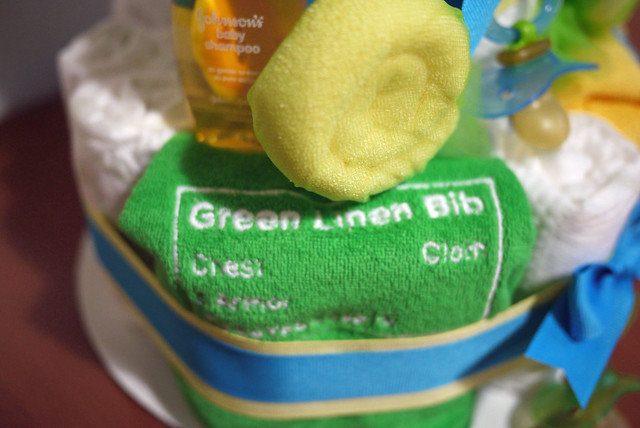
I used my embroidery machine digitize fonts and logos to make three custom bibs. Unfortunately I was in a rush and didn’t get a chance to take pictures before it was assembled. The first was a twist on the ubiquitous “Green Linen Shirt” available in the game.

World of Warcraft Diaper Cake

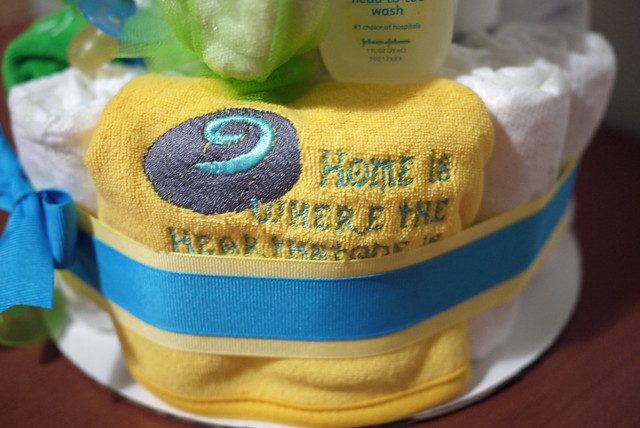
The second reads “Home is where the hearthstone is.”

World of Warcraft Diaper Cake

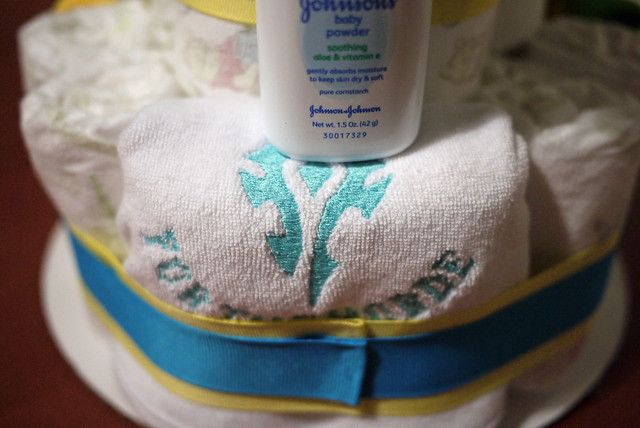
And lastly, “For the horde”!

World of Warcraft Diaper Cake

The plush murloc (an in-game baddie) was an eBay purchase. You really can find anything on the internet these days! Washcloth lollipops and travel sized toiletries rounded out the cake.

World of Warcraft Diaper Cake

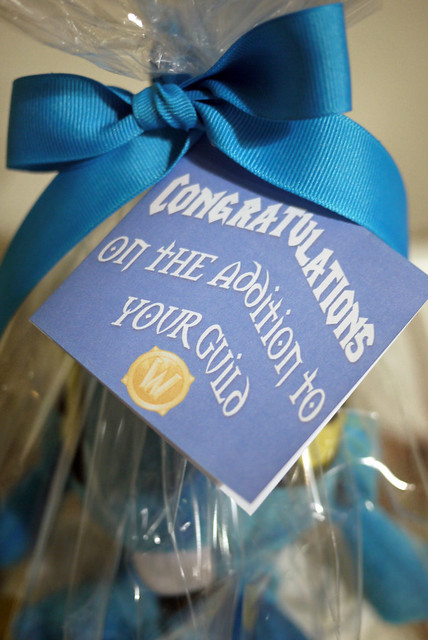
Cellophane and a custom gift tag completed the presentation.

World of Warcraft Diaper Cake

Come one, come all!

People aren’t kidding when they say your child’s first year flies by. I feel like we just brought our baby boy home, but last weekend we celebrated his first birthday!

Any and all party planning credit needs to be split with Pinterest. I pinned the stuffing out of this party.

First up we have the birthday boy as a ringmaster, greeting guests at the door.

Elliott's Circus Birthday

Here’s the most finished shot I have of the party spread. Too busy enjoying myself to get a final picture! The canopy is from IKEA (MYSIG), as is the red striped fabric (SOFIA).

Elliott's Circus Birthday

The banner is made from scrapbook paper, white cardstock, and ribbon.

Elliott's Circus Birthday

Staples transformed raffle tickets into a festive chain garland.

Elliott's Circus Birthday

The marquee number one is made from posterboard, foam core board, and string lights that I already had. 

Elliott's Circus Birthday

I’m so happy with how the decorations turned out! Lots time spent during naps and after Elliott’s bedtime brought it all together.

Elliott's Circus Birthday

My mother in law made this beautiful and delicious cake for the occasion. I was blown away! Can you believe it was her first time ever working with fondant?

Elliott's Circus Birthday

These yellow carnation “popcorn” arrangements were one of my favorite details.

Elliott's Circus Birthday

Paper straws and daisy lids transformed canning jars I had on hand into glasses for the pineapple lemonade punch.

Elliott's Circus Birthday

The popcorn maker was borrowed from my parents. I made a mini popcorn bar with candy and savory snacks to mix in. Word to the wise – use coconut oil. It tastes like it came right out of a theater bucket!

Elliott's Circus Birthday

Popping action!

Elliott's Circus Birthday

I ran paper bags through our printer to make custom popcorn bags. Still can’t believe that worked! I was sure this was going to be a failed project.

Elliott's Circus Birthday

There’s chalkboard inspiration to be found all over Pinterest. Here’s my attempt, with black foam core board and metallic markers.

Elliott's Circus Birthday

Paired with polka dot balloons!

Elliott's Circus Birthday

I bought some circus-y clipart on Etsy and blew it up for decorations. Printed on cardstock, trimmed, and mounted on polka dot cardstock.

Elliott's Circus Birthday 

Elliott's Circus Birthday

I used the same clipart (and a Husqvarna Designer SE) to embroider a custom onesie for Elliott. The buttons and bowtie are repurposed from a teeny tiny tux he wore at four months to a black tie event.

Simple hand sewing is about the only thing I have energy for today #sickdaysewing

I think he looked smashing! And not just because he adorably slathered himself in cake.

Elliott's Circus Birthday

I even made a little party hat, which was soundly rejected by the guest of honor.

Elliott's Circus Birthday

Here’s the $2 photo booth backdrop I made from crepe paper and painter’s tape.

Elliott's Circus Birthday

We took photos with a camera on a tripod, and I used PhotoFunia’s photo booth tool to make the authentic-looking strips below.

Elliott's Circus Birthday Elliott's Circus Birthday Elliott's Circus Birthday

Elliott's Circus Birthday Elliott's Circus Birthday

All in all, a wonderful day with wonderful people. Happy birthday, Elliott!

My little firecracker

It was July 2nd when I realized our little guy didn’t have a thing to wear on Independence Day. A quick trip for supplies, some craft time after his bedtime, and soon he had some custom threads to celebrate the birth of our nation.

Fourth of July Onesie

I cut into some freezer paper that’s been hanging around for years for the very first time. Kind of embarrassing!

I traced the design from Word the old fashioned way.Fourth of July Onesie

It took a lot of trimming to get it all cut out!

Fourth of July Onesie

A quick iron, and we were ready for paint. I used Tulip’s ‘Soft’ fabric paint.

Fourth of July Onesie

First blue…

Fourth of July Onesie

Then white… then overnight to dry. The stencil peeled off without any problems, and after a few quick touch ups, it was ready to wear.

Fourth of July Onesie

Of course, any craft project is improved with a pint-sized model.

Fourth of July Onesie

Especially a smiley one!

Fourth of July Onesie

The force is strong with this one…

After weeks of work, our little guy’s nursery is finally complete. And not a moment too soon: I’m due in a week, and we’ve already had one exciting (but baby-less) trip to the hospital. I couldn’t be happier with how it all came together. Without further ado… enjoy zillions of pictures of a tiny nursery in a galaxy far, far away.

Star Wars Nursery

Star Wars Nursery

Star Wars Nursery

Star Wars Nursery

Star Wars Nursery

Star Wars Toy Box from Andrea & Sonny

Star Wars Nursery

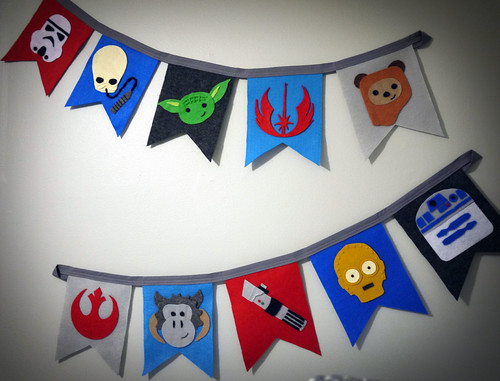
Star Wars Bunting

Star Wars Mobile

Star Wars Nursery

Star Wars Nursery

Star Wars Nursery

Light Saber Lamp

Star Wars Nursery

Star Wars Nursery

Star Wars Nursery

Star Wars Nursery

Star Wars Nursery

Star Wars Nursery

Star Wars Nursery

Star Wars Nursery

Star Wars Nursery

Star Wars Nursery

Star Wars Nursery

Star Wars Nursery

Star Wars Nursery

Star Wars Nursery

Star Wars Nursery

Star Wars Nursery

Paint: Martha Stewart Living Driftwood Gray, Home Depot

LED star ceiling kit: Weidamark

Crib: Baby Mod ParkLane

Changing table: IKEA Expedit with drawer and door inserts, legs, and knobs

Dresser: IKEA [discontinued]

Glider: Little Castle Crown Reclining Swivel Glider from Target

Paper lanterns: Plain from Luna Bazaar, Death Star from ThinkGeek [sold out]

Prints: James Hance, aswegoArts Etsy shop, some DIY

Frames: IKEA Ribba, assorted sizes

Mobile: DIY

Bunting: DIY

Quilt: DIY

Crib Skirt: DIY

Boppy Cover: DIY

Upholstered initial: DIY (might make a tutorial for this at some point…)

Changing pad cover / crib sheet: Land of Nod

Light saber lamp: DIY

Closet shelving: Rubbermaid HomeFree series closet kit

Curtains: DIY, fabric from Spoonflower

You’ve heard of the Leg Lamp…

How about a light saber lamp?

Light Saber Lamp

Another simple, inexpensive DIY project for the baby’s nursery. The light saber hilt is from my husband’s collection — just a cheapie plastic model. The lamp base is IKEA’s Hemma and the shade is Jara. Total cost? Just under $15.

Light Saber Lamp

This is my favorite kind of project: it doesn’t scream ‘STAR WARS’ on first look, but instead is a more of a subtle nod to the Jedi’s weapon of choice.

Want to make your own? Geek Crafts has a great tutorial on making one yourself. We used it mostly for inspiration and kinda winged the assembly.

In other news, I’ve finally settled on a fabric for the remaining big projects in the room. Current plan is for floor length curtains to replace the closet door, a roman shade for the window, and a simple pleated crib skirt.

72dpi-A-5976-B

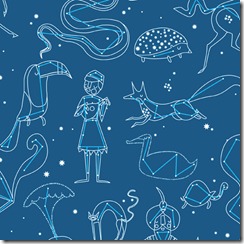
The print is ‘Constellation’ by Lizzy House. Isn’t is cute? It’s so new that it hasn’t even been released yet. I can’t wait to get my hot little hands on it. There will be some furious sewing going on in early December so that everything is ready for the bambino’s arrival.

Twinkle Twinkle

I love Pinterest. Where else would I find an idea as crazy as this?

If you can look past my awful video skills, this is the major project we’ve been working on for our little guy’s nursery.

So how’d we do it? First, we bought a kit. Then we pored over the internet, looking for people who had already attempted this project. We got a lot of tips and tricks that saved us time and effort throughout the process.

This is fairly early on in the installation, and the scariest part. We randomly drilled 288 holes from the attic down into the baby’s room. No turning back now!

Nursery Star Ceiling

A lot of people have asked if we included specific constellations, but honestly, it seemed like a lot of extra work on top of an already insurmountable task. Also, it could be argued that it’s an authentic view of the night sky from Kashyyyk or Naboo or something. Yeah, let’s stick with that.

The little doohickies sticking out of the ceiling are toothpicks. After drilling the holes, we realized we’d have to paint the ceiling… something we had hoped to avoid. So Ben did the rolling and I followed behind, faithfully plugging holes to keep them from filling up with paint.

Nursery Star Ceiling

Working from the back of the room — furthest from the light source in the attic — and moving towards the front, Ben passed the fiber optic strands down from the attic to me one by one. I knotted them into groups to keep things a little less unruly. This was the most time consuming part of the project.

Nursery Star Ceiling

The dangling fibers made for some neat pictures.

Nursery Star Ceiling

Slowly we worked our way through the room, threading fiber down from above. Each fiber was secured from the attic with a dollop of regular ‘ol Aleene’s Tacky Glue.

Nursery Star Ceiling

Here’s a peek at the attic during the process. Note the cable management system employed by my highly organized better half. You can also see the light source that makes the whole operation run. It comes with two internal ‘wheels’ that you can switch out. One makes the stars twinkle, and one makes them rotate through a few different colors.

Nursery Star Ceiling

Once all of the fibers were threaded, the last step was to clip each fiber to 1/8" inch from the ceiling. No special tool here — just a regular pair of snips with felt taped to the ends to get a 1/8" length.

Nursery Star Ceiling

Even my husband, who may not have shared my enthusiasm while hunched over in the attic for a solid week, seems very happy with the results. Let’s just say that we won’t be applying this treatment to any *other* rooms in our house… and if we’re in this house in 2043, our 30 year old son will still be enjoying his star ceiling! [Or else.]

Nursery Star Ceiling

If you’re interested in installing your own starfield ceiling, the kit that we used can be purchased from Weidamark. We got ours from their eBay store, where the kit and the shipping were both slightly cheaper.

A Mobile Fit for a Jedi

As you can imagine, it’s not easy to find accessories for a Star Wars themed nursery. Bring on the DIY! My latest project was a repurposed mobile.

Star Wars Mobile

A long time ago, in a galaxy far far away, it looked like this:

Mobile, Before

I took it apart and measured the fabric pieces that came with it, making patterns and using leftover fabric from the R2D2 quilt to ‘reupholster’ the arms and hanger.

Then, I freehanded a felt Death Star to glue over the round mechanism up top.

Star Wars Mobile, Death Star

Sadly, it does not play the Imperial Death March – ‘Lullaby’ will have to do. BUT, the little plushes that I bought on eBay to hang from the arms make their own noises when you squeeze them. Chewwie roars, R2D2 beeps, Yoda pontificates, and Vader breathes heavily… Jawa’s eyes even light up! So still pretty cool.

Each character is attached with embroidery floss, a decorative button, and a generous gob of hot glue.

Star Wars Mobile, Yoda

Star Wars Mobile, Darth Vader

Star Wars Mobile, Chewbacca

Star Wars Mobile, R2D2

Star Wars Mobile, Jawa

First FMF Project

Finally made the inaugural cut into my new Flea Market Fancy. But not for a quilt — for a bracelet!

Flea Market Fancy Bracelet 

Normally I’m not a huge fan of pink, but these prints were calling to me. Purists out there will probably notice there’s a few non-legacy patterns in there as well, from my old FMF stash.

Flea Market Fancy Bracelet

Here’s the tutorial that I used, from Destri on Mother Huddle. All you need is a covered button kit, hot glue, and a bracelet blank.

Flea Market Fancy Bracelet

I’m hoping to wear it next week, when Denyse Schmidt visits the Philadelphia Modern Quilt Guild. I can’t wait for our workshop next weekend!